ONE-MA3 – Day XXI: Art Restoration and Artificial Pigments in Aramengo
By Sophia Mittman ’22
After spending three days in Turin, we traveled a short ways away to the nearby village of Aramengo, which has a population of about 500 (comparable to the occupancy of the Maseeh dorm back at MIT). Set among rolling hills of greenery, this town is known for being isolated…in fact, in Italian, to say “andare a Aramengo” means “to go to the middle of nowhere.” Still, the restaurant-less village was charming, and every day we spent there was packed full of learning about pigments, architectural structures, sculpting materials, and more. First, we took a tour of Marco Nicola’s family restoration lab, which made our jaws drop the moment that we walked in. The first large room was massive; a giant table dominated the majority of the open floor area, covered with paintings in various stages of restoration, statues of different religious and cultural contexts, books on art conservation, and one enormous painting that rose up and towered from the far end of the table. Marco walked us through the small rooms of the lab, each being used for a particular step in the restoration process of paintings. One of the most fascinating rooms was the room designed for cleaning the old paintings; each painting in this stage had small white boxes displayed on their surfaces, each framing a section of canvas that had been cleaned differently. From the multiple rectangles on each painting, we could clearly see the different attempts of cleaning based on the varying levels of hue brightness of the newly-cleaned pigments.
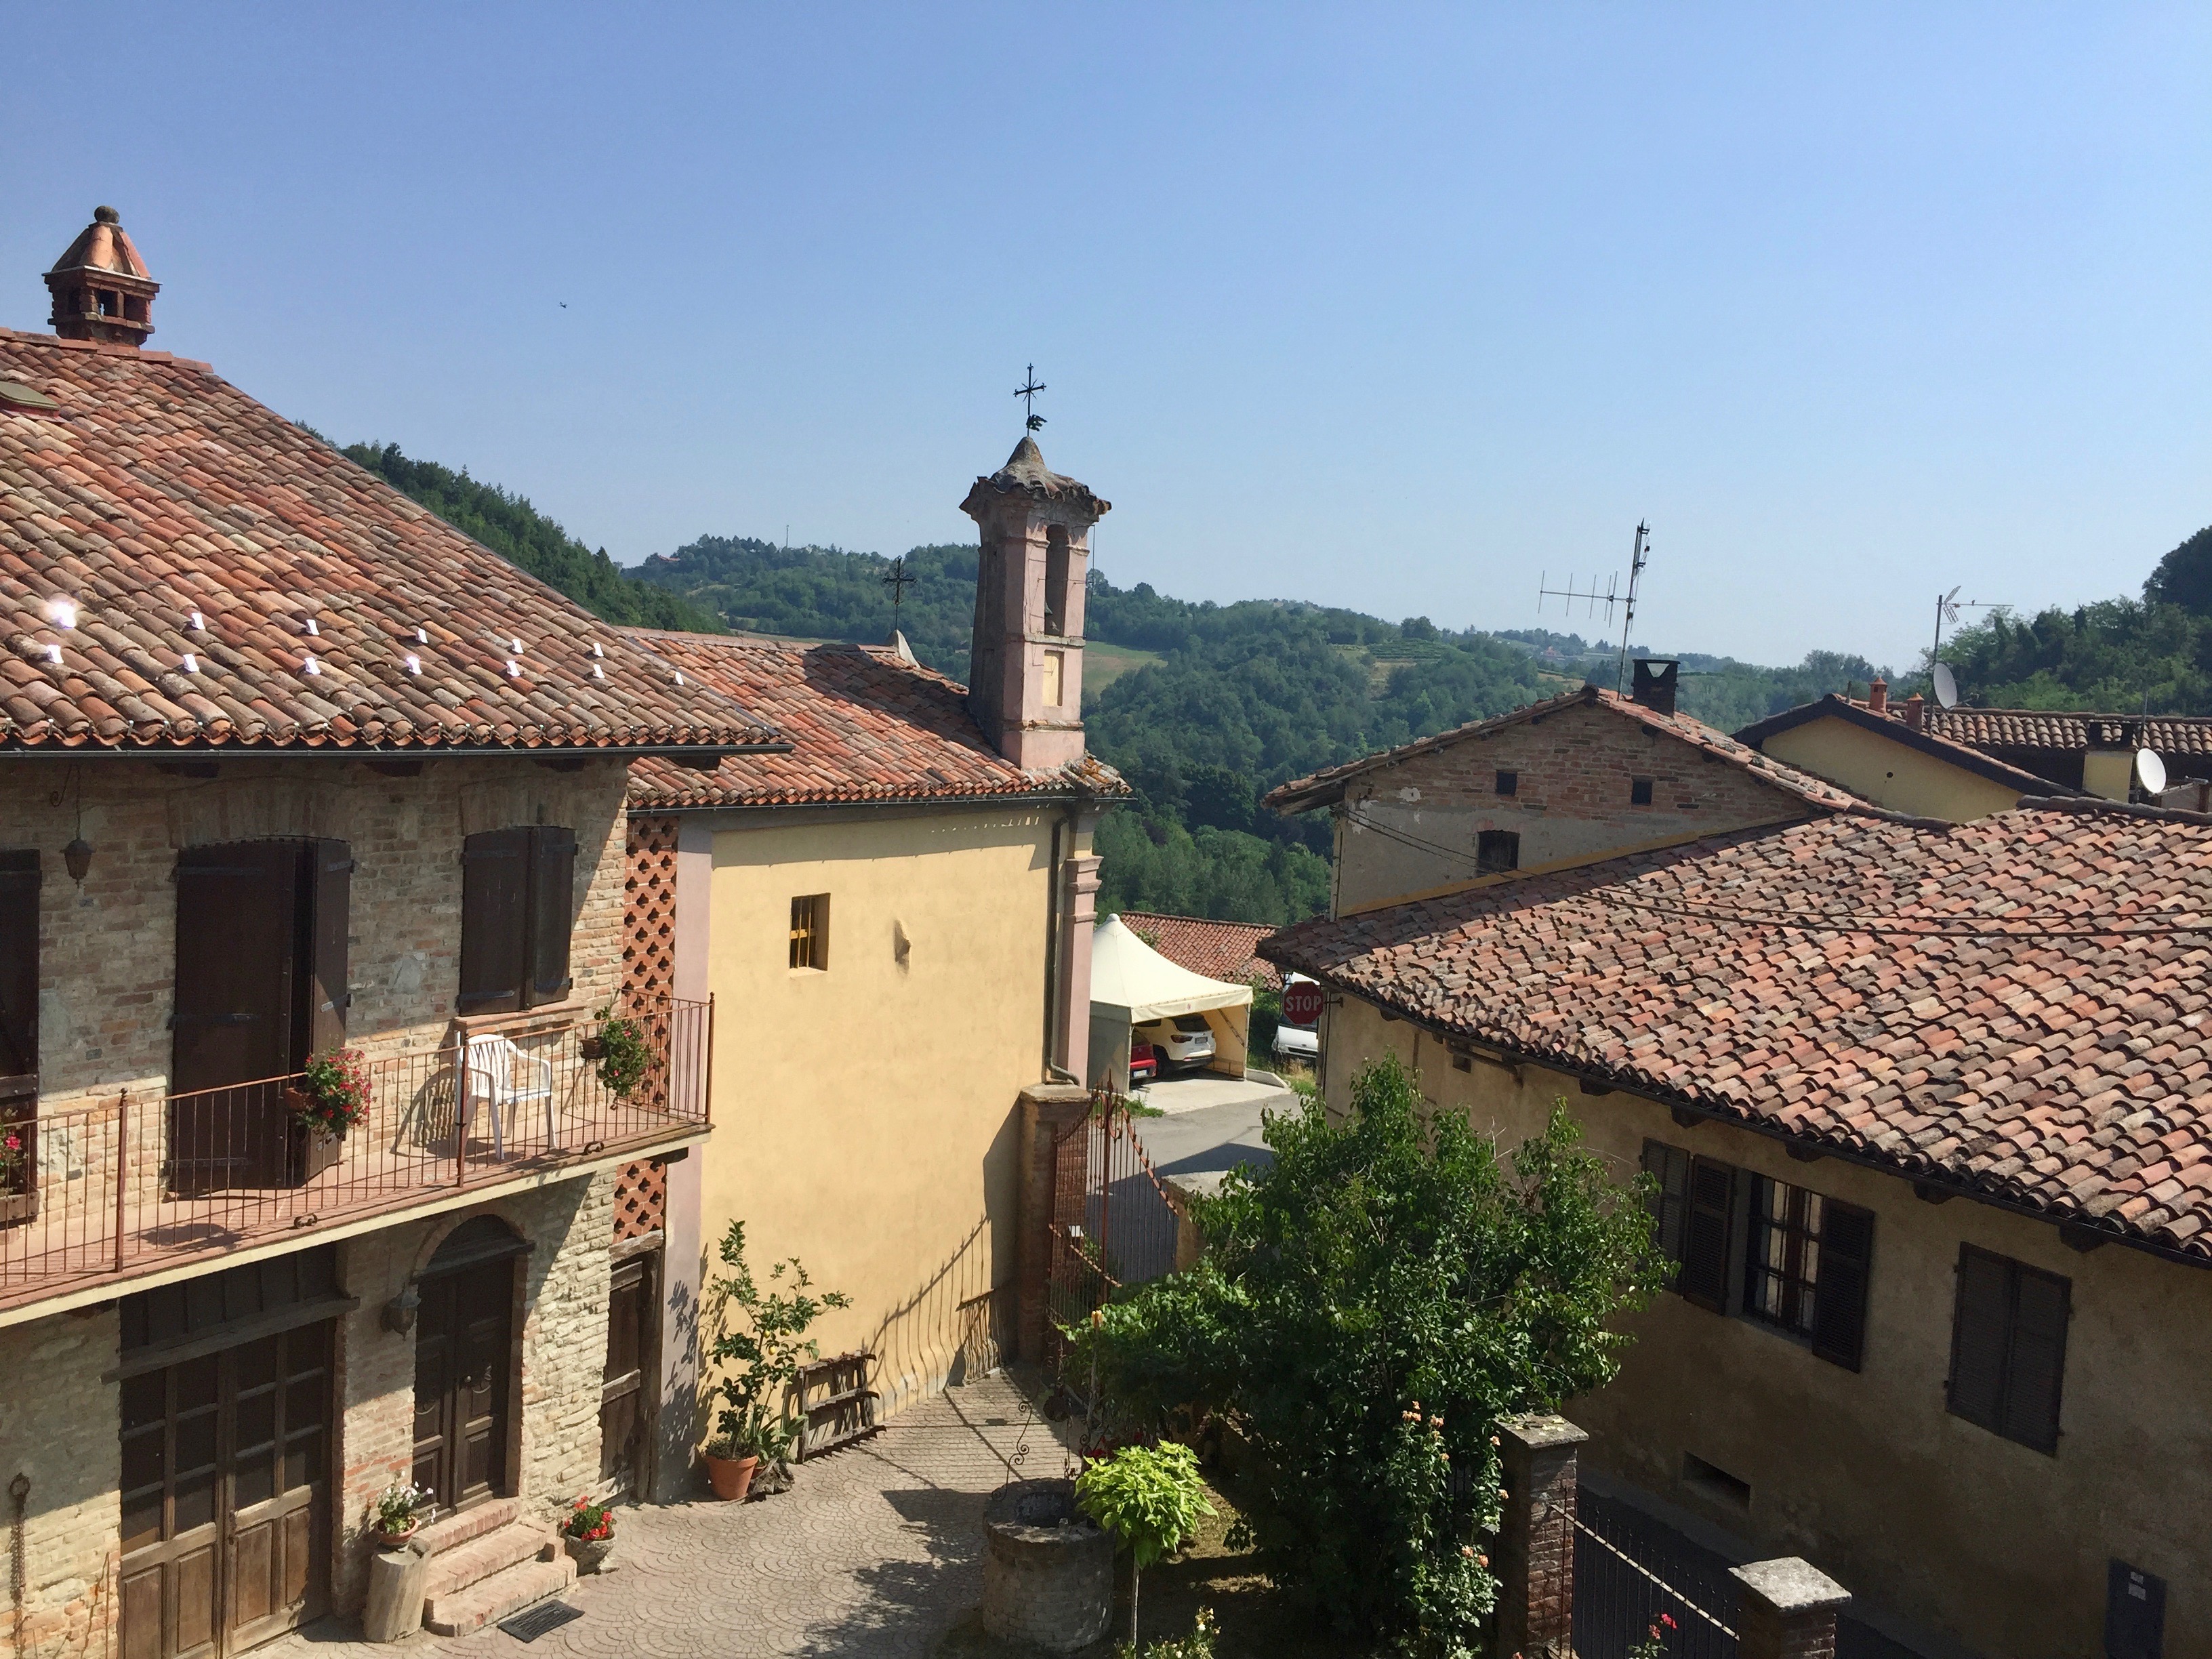
A view of the village of Aramengo and the surrounding hills from our window
In the next building of the art restoration complex, we entered into a room that had one of its walls completely covered by a painting even larger than the one we had seen in the first building. On the table in the middle of the room was a smaller painting, one that made most of us stop in our tracks. Up until this point, all of the paintings that we have seen undergoing restoration have been in rather good condition—usually we’ll see restorers wearing magnifying headgear tidying up miniscule patches of the canvas with a tiny brush and a small set of paints. But, this painting laying on the table in front of us was unlike any painting we had encountered before. This one had been rummaged from an earthquake wreck. Because of that, the pigments were incredibly faded, and many of the painting’s details were barely visible anymore. Another huge portion of the canvas was completely ripped and the frame near those spots was utterly destroyed. I have never seen a historic painting in such devastating condition. Just looking at the painting, it was tempting to think that fixing anything from that horrible of a condition into a near-original state was hopeless. The project to restore it would cost around 10,000 euros. That’s when I realized that art restoration and cultural heritage conservation is not only a matter of fixing tiny details on old paintings or keeping artifacts from getting dusty; this field has its major challenges as well, like restoring artifacts that have undergone utter devastation like this one (I would include a picture of it here, but photos in the restoration labs are not allowed).
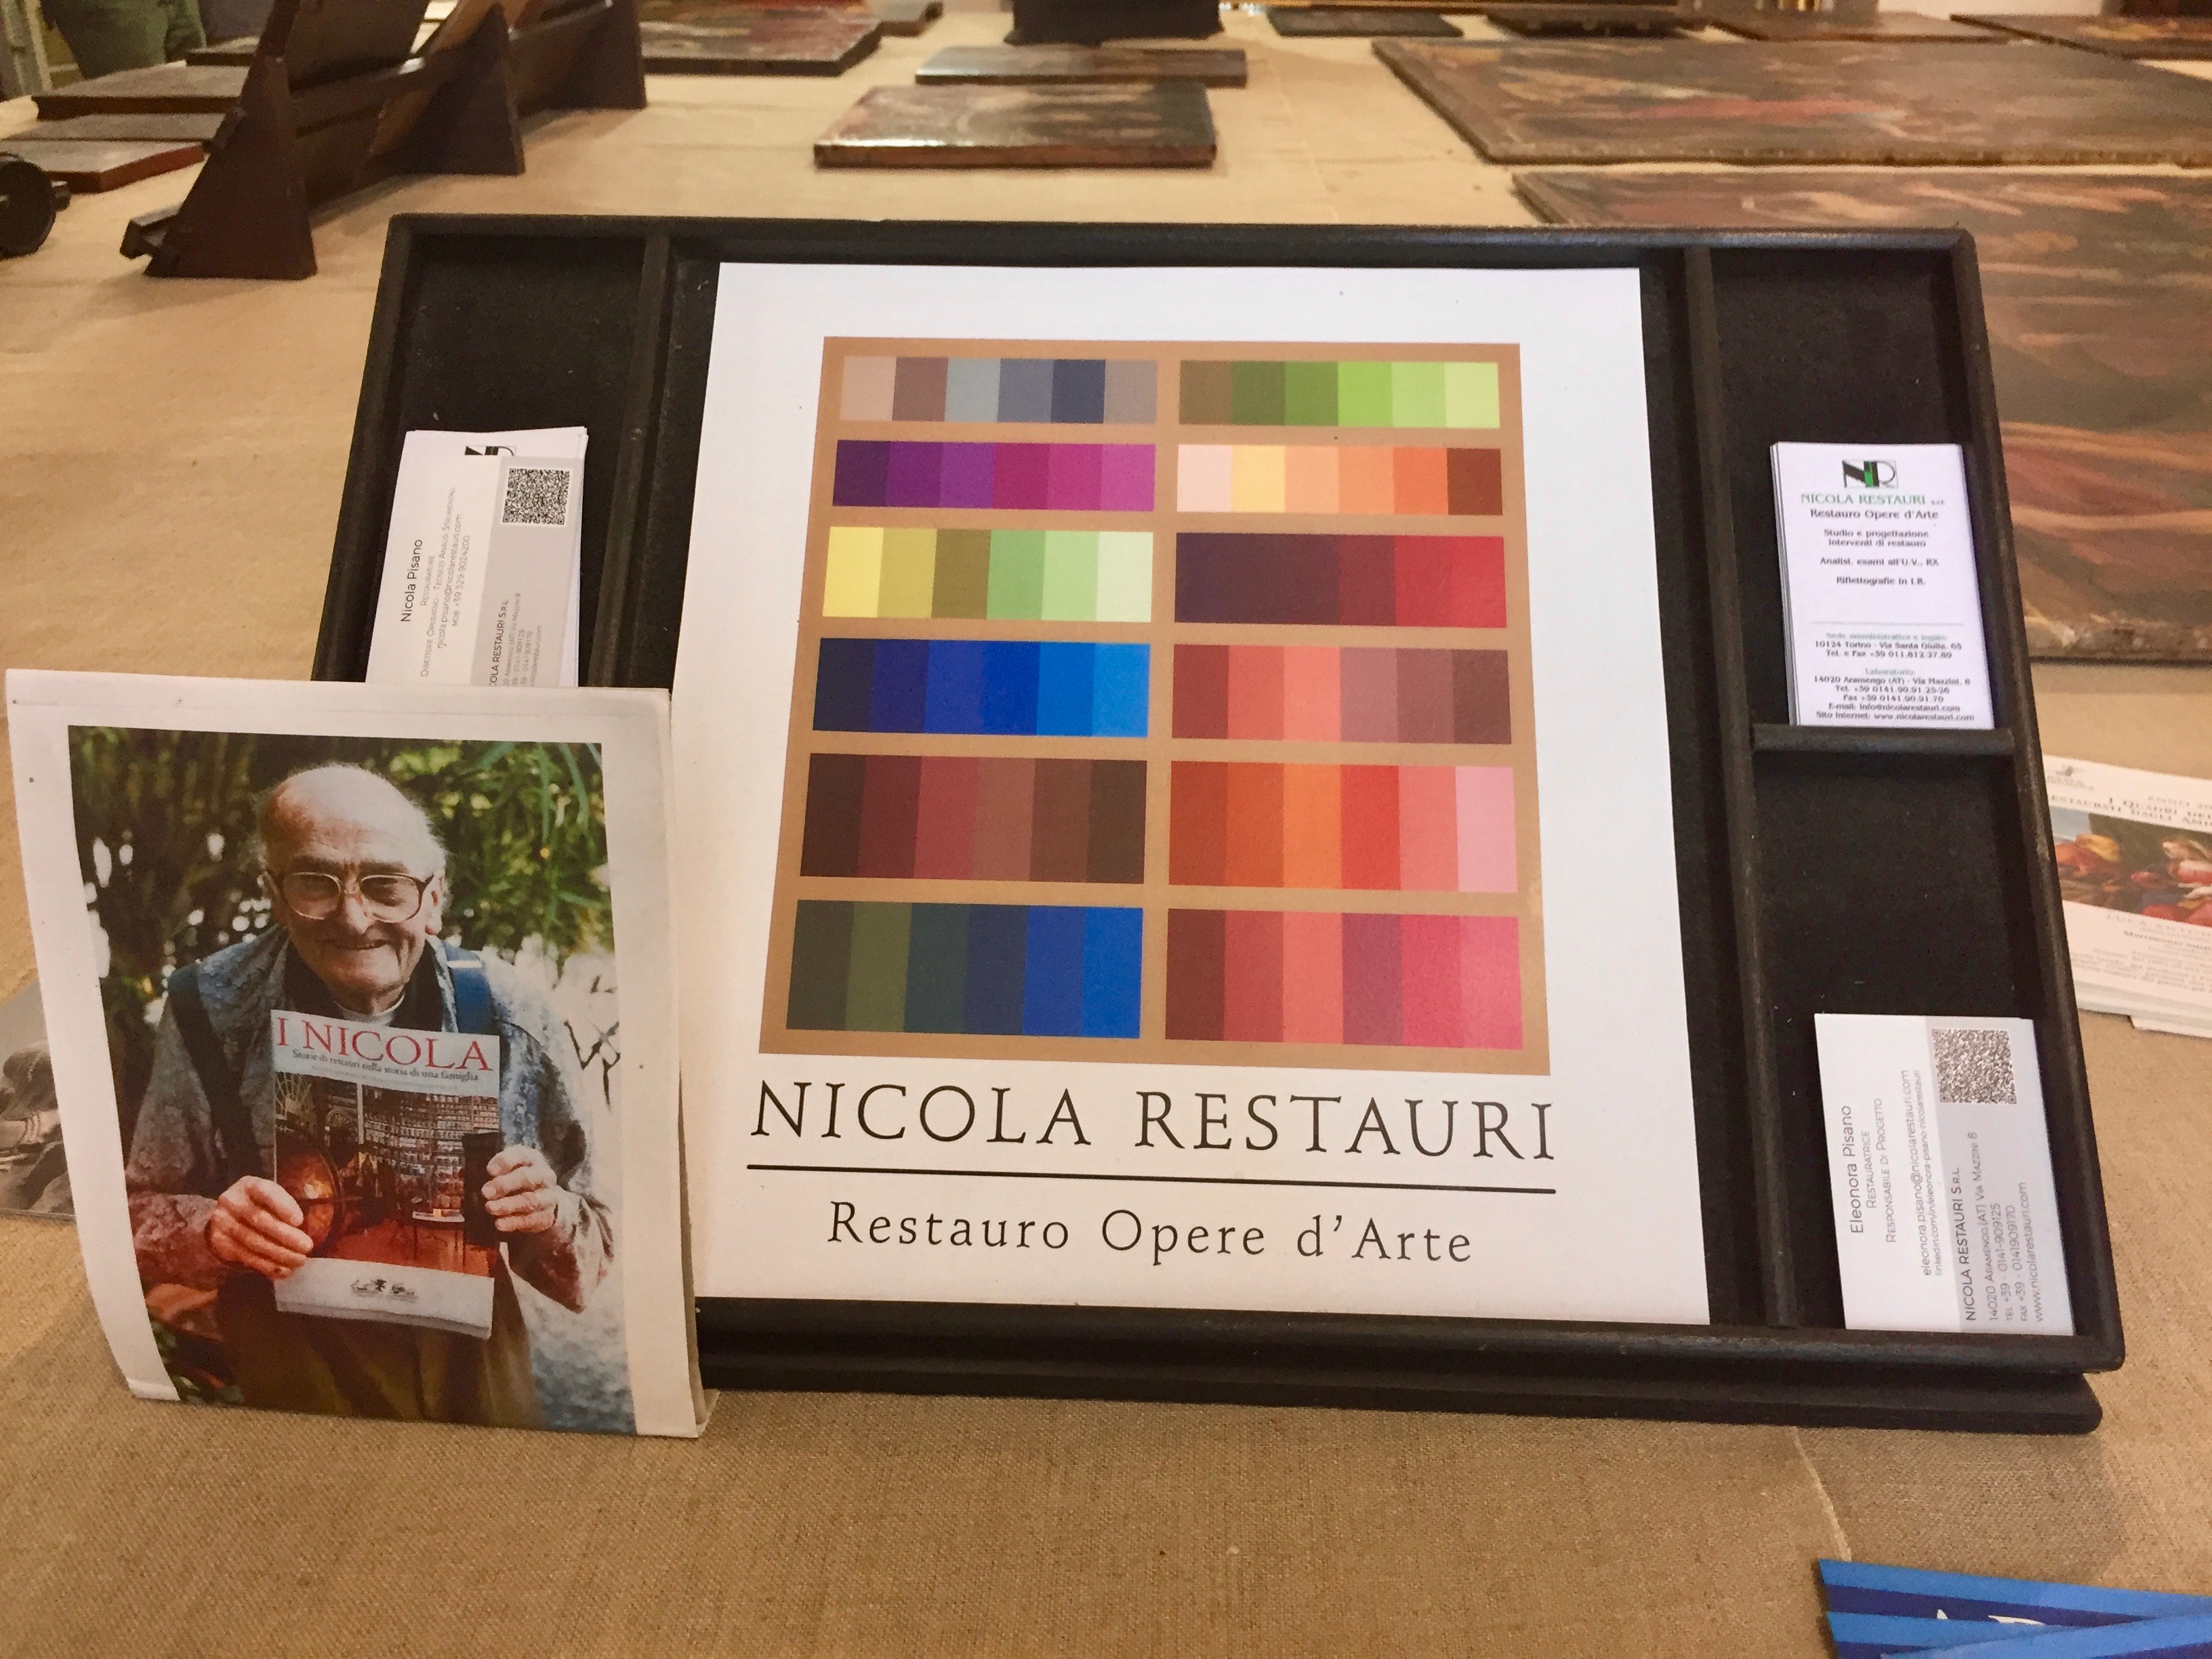
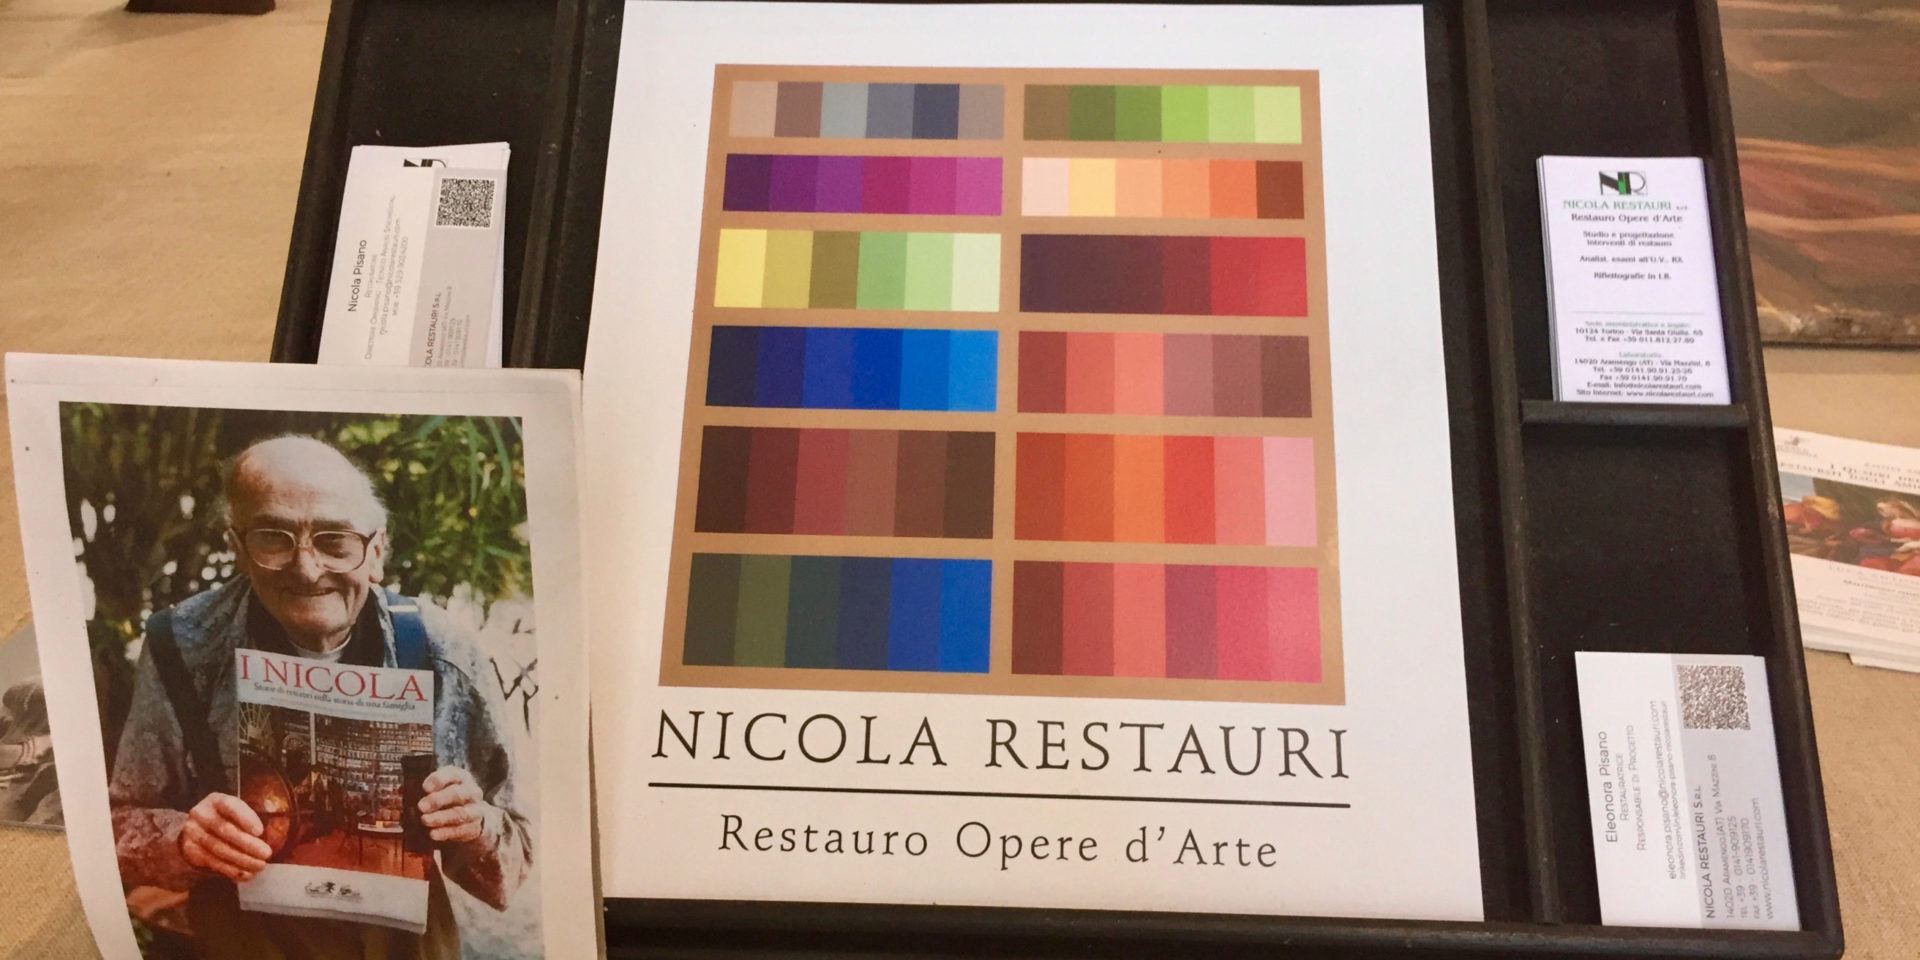
One of the many books regarding art restoration and conservation from the Nicola family
Immediately after our introduction to the Nicola restoration labs, we were reminded of the lectures we had received about Egyptian blue a few days prior and launched into synthesizing the pigment ourselves in one of the laboratories. Each group was given different parameters for each batch of Egyptian blue: one group used pure copper, another group used artificial malachite as their copper source, the third group had to use barium instead of calcium in order to make Han blue, and my group was tasked with including flux (sodium carbonate) in our mix. We were given the chemical formula for Egyptian blue (cuprorivaite) and then had to rely on our rusty stoichiometry skills to figure out a recipe on our own. After all of our calculations on paper, we carefully measured our reactants and ground them into a fine powder using a mortar and pestle. Professor Masic helped us form our mixtures into small spheres with the addition of a slight amount of water, place all of our materials into clay crucibles, and then placed them into the furnace with the hope that the final products will not only be blue to the visible eye, but also will fluoresce in the infrared spectrum, determining whether or not we will have successfully made Egyptian blue. But, for the rest of the evening we played the waiting game while we enjoyed the Italian outdoors, and tomorrow we will check our cooked pigments to find out if we succeeded for sure!
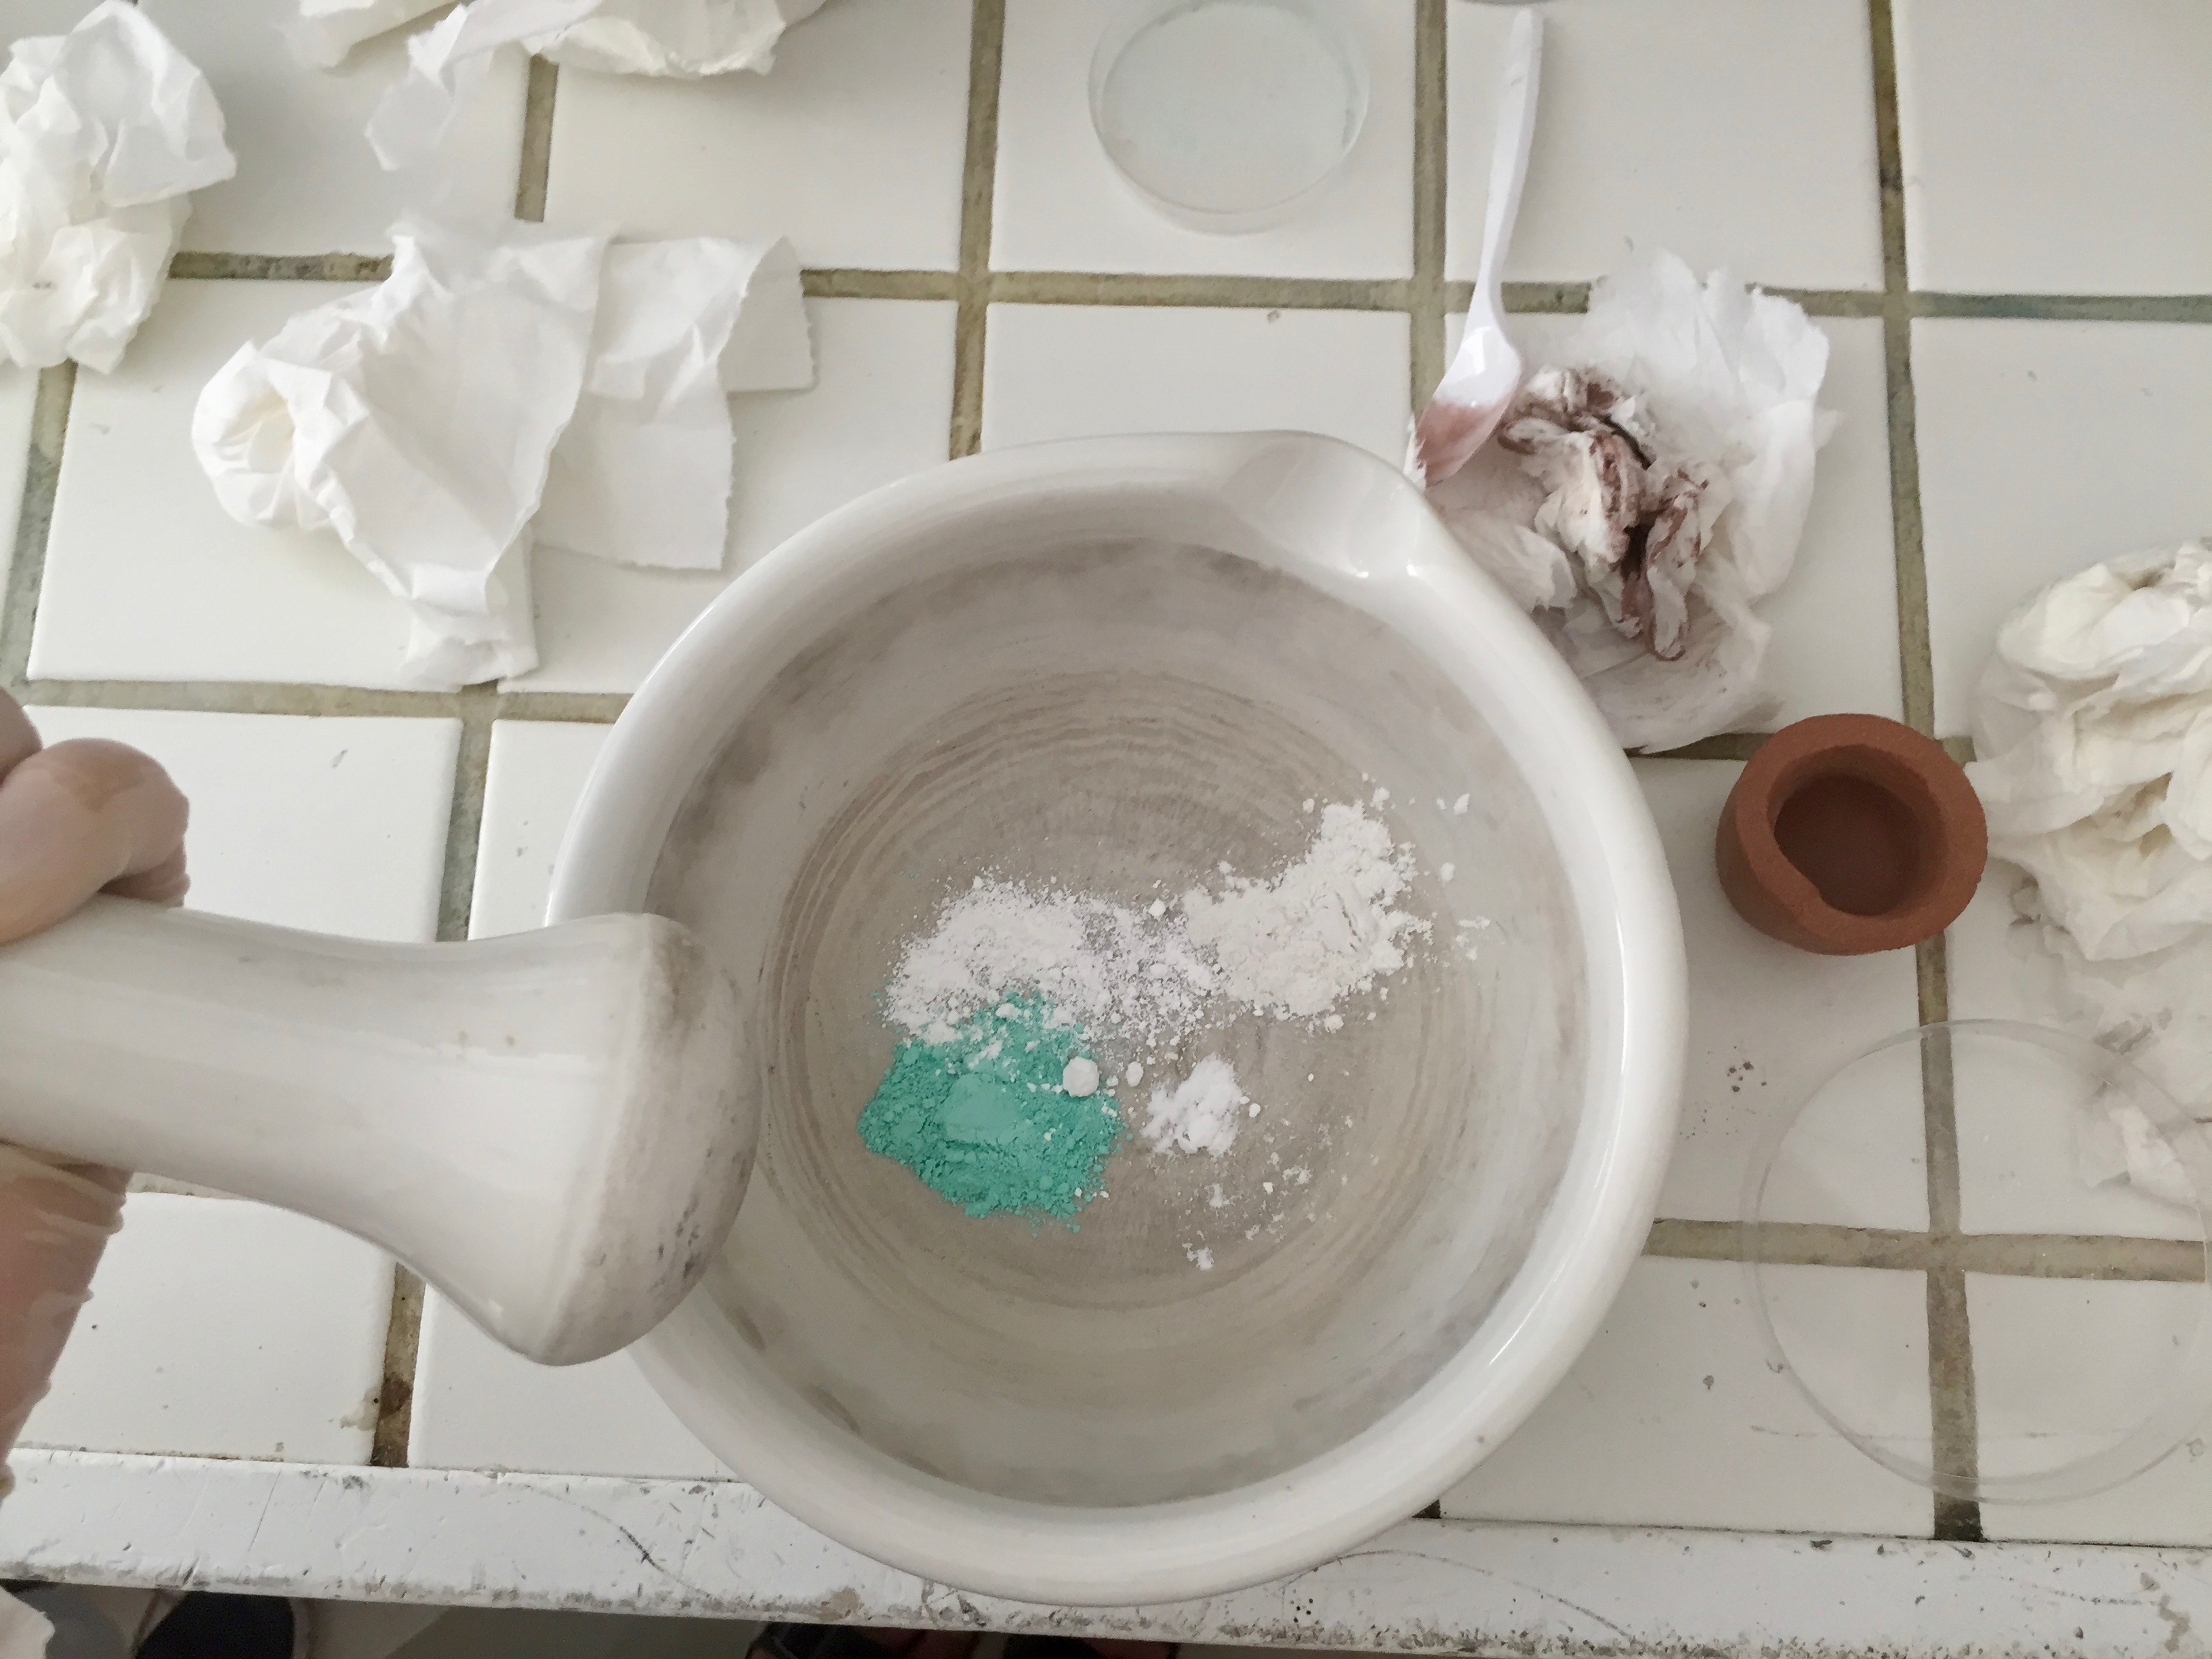
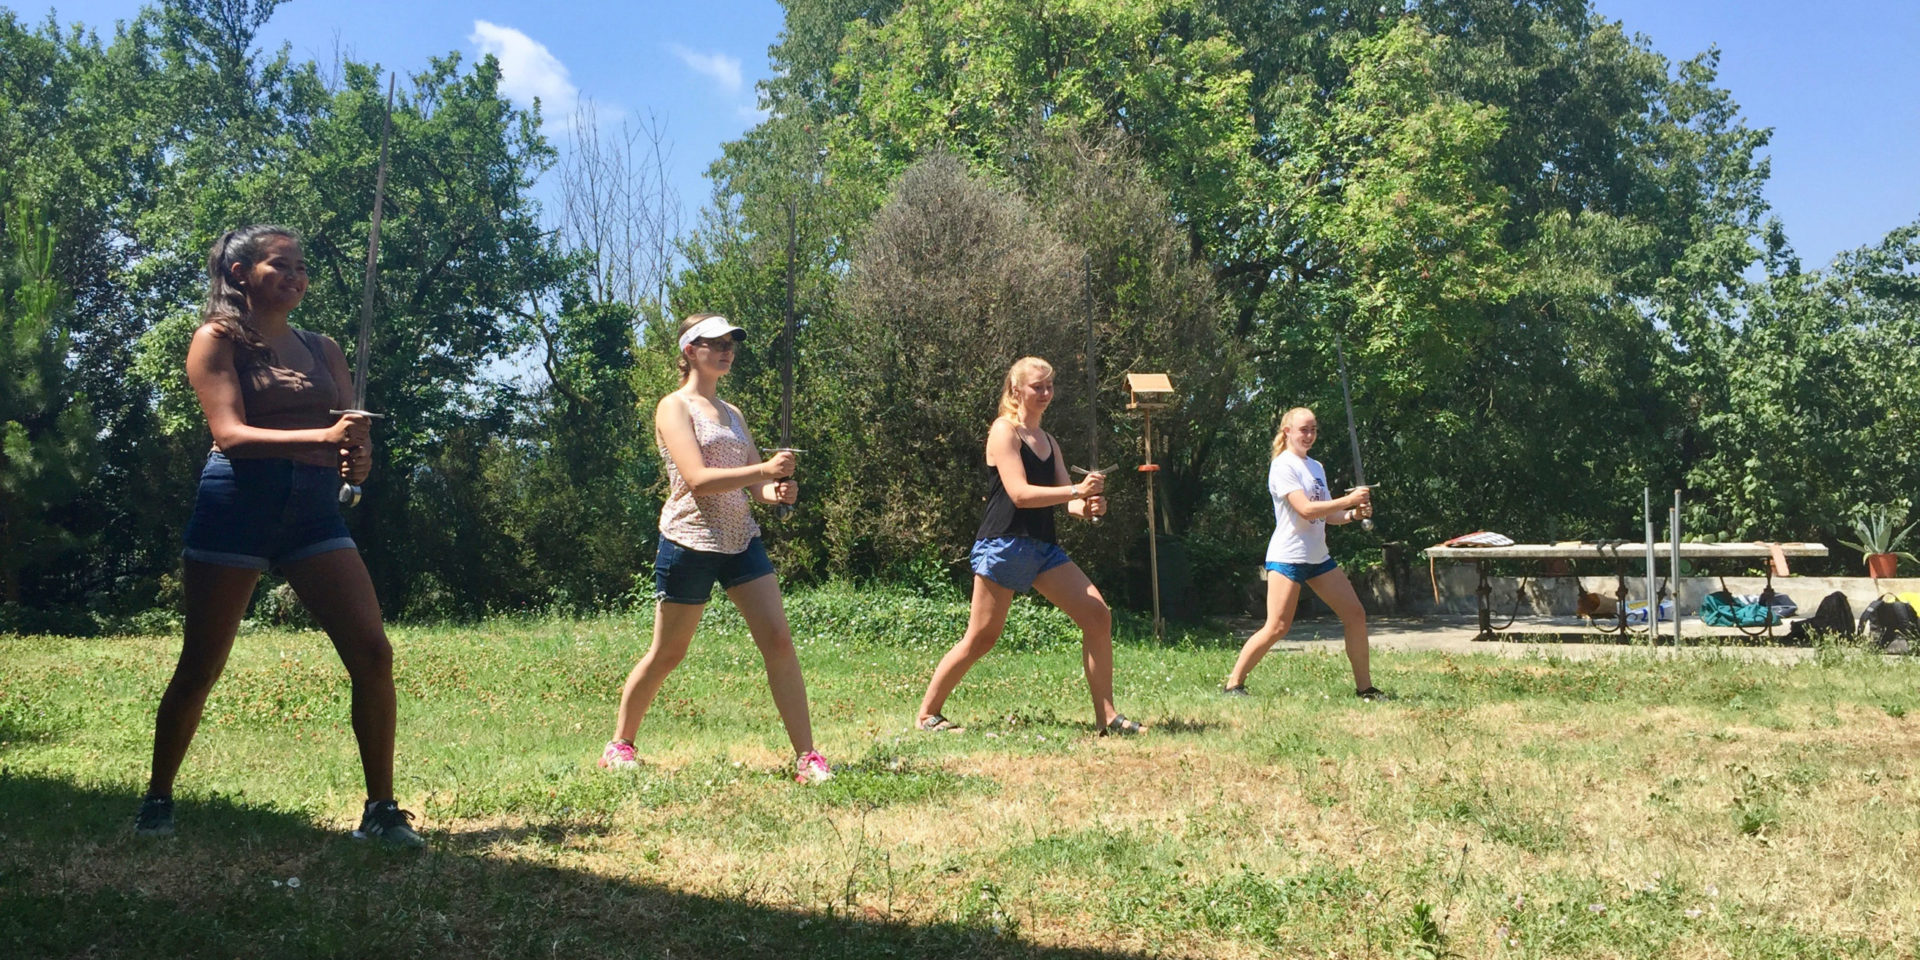
Synthesizing our own version of Egyptian blue!
Share on Bluesky