ONE-MA3 – Day VIII: Sunday Mass, 3D modeling and Compression Testing
By Sophia Mittman ’22
Happy Sunday! Some of us woke up to Sunday Mass at the medieval cathedral of Sermoneta just a five-minute walk away. It was fascinating to arrive at the church early to receive a tour of the church by art restorer, Marco Nicola. He explained so many things within religious art that I never knew about before! Today also happened to be Corpus Christi, a Roman Catholic holy day that is highly revered in southern Italy and was cause to decorate the entire center aisle of the church with pictures created from flowers and other natural materials like beans, rice, leaves, and flour. Later on, in the evening they performed a procession through the streets of Sermoneta in celebration of the holy day.
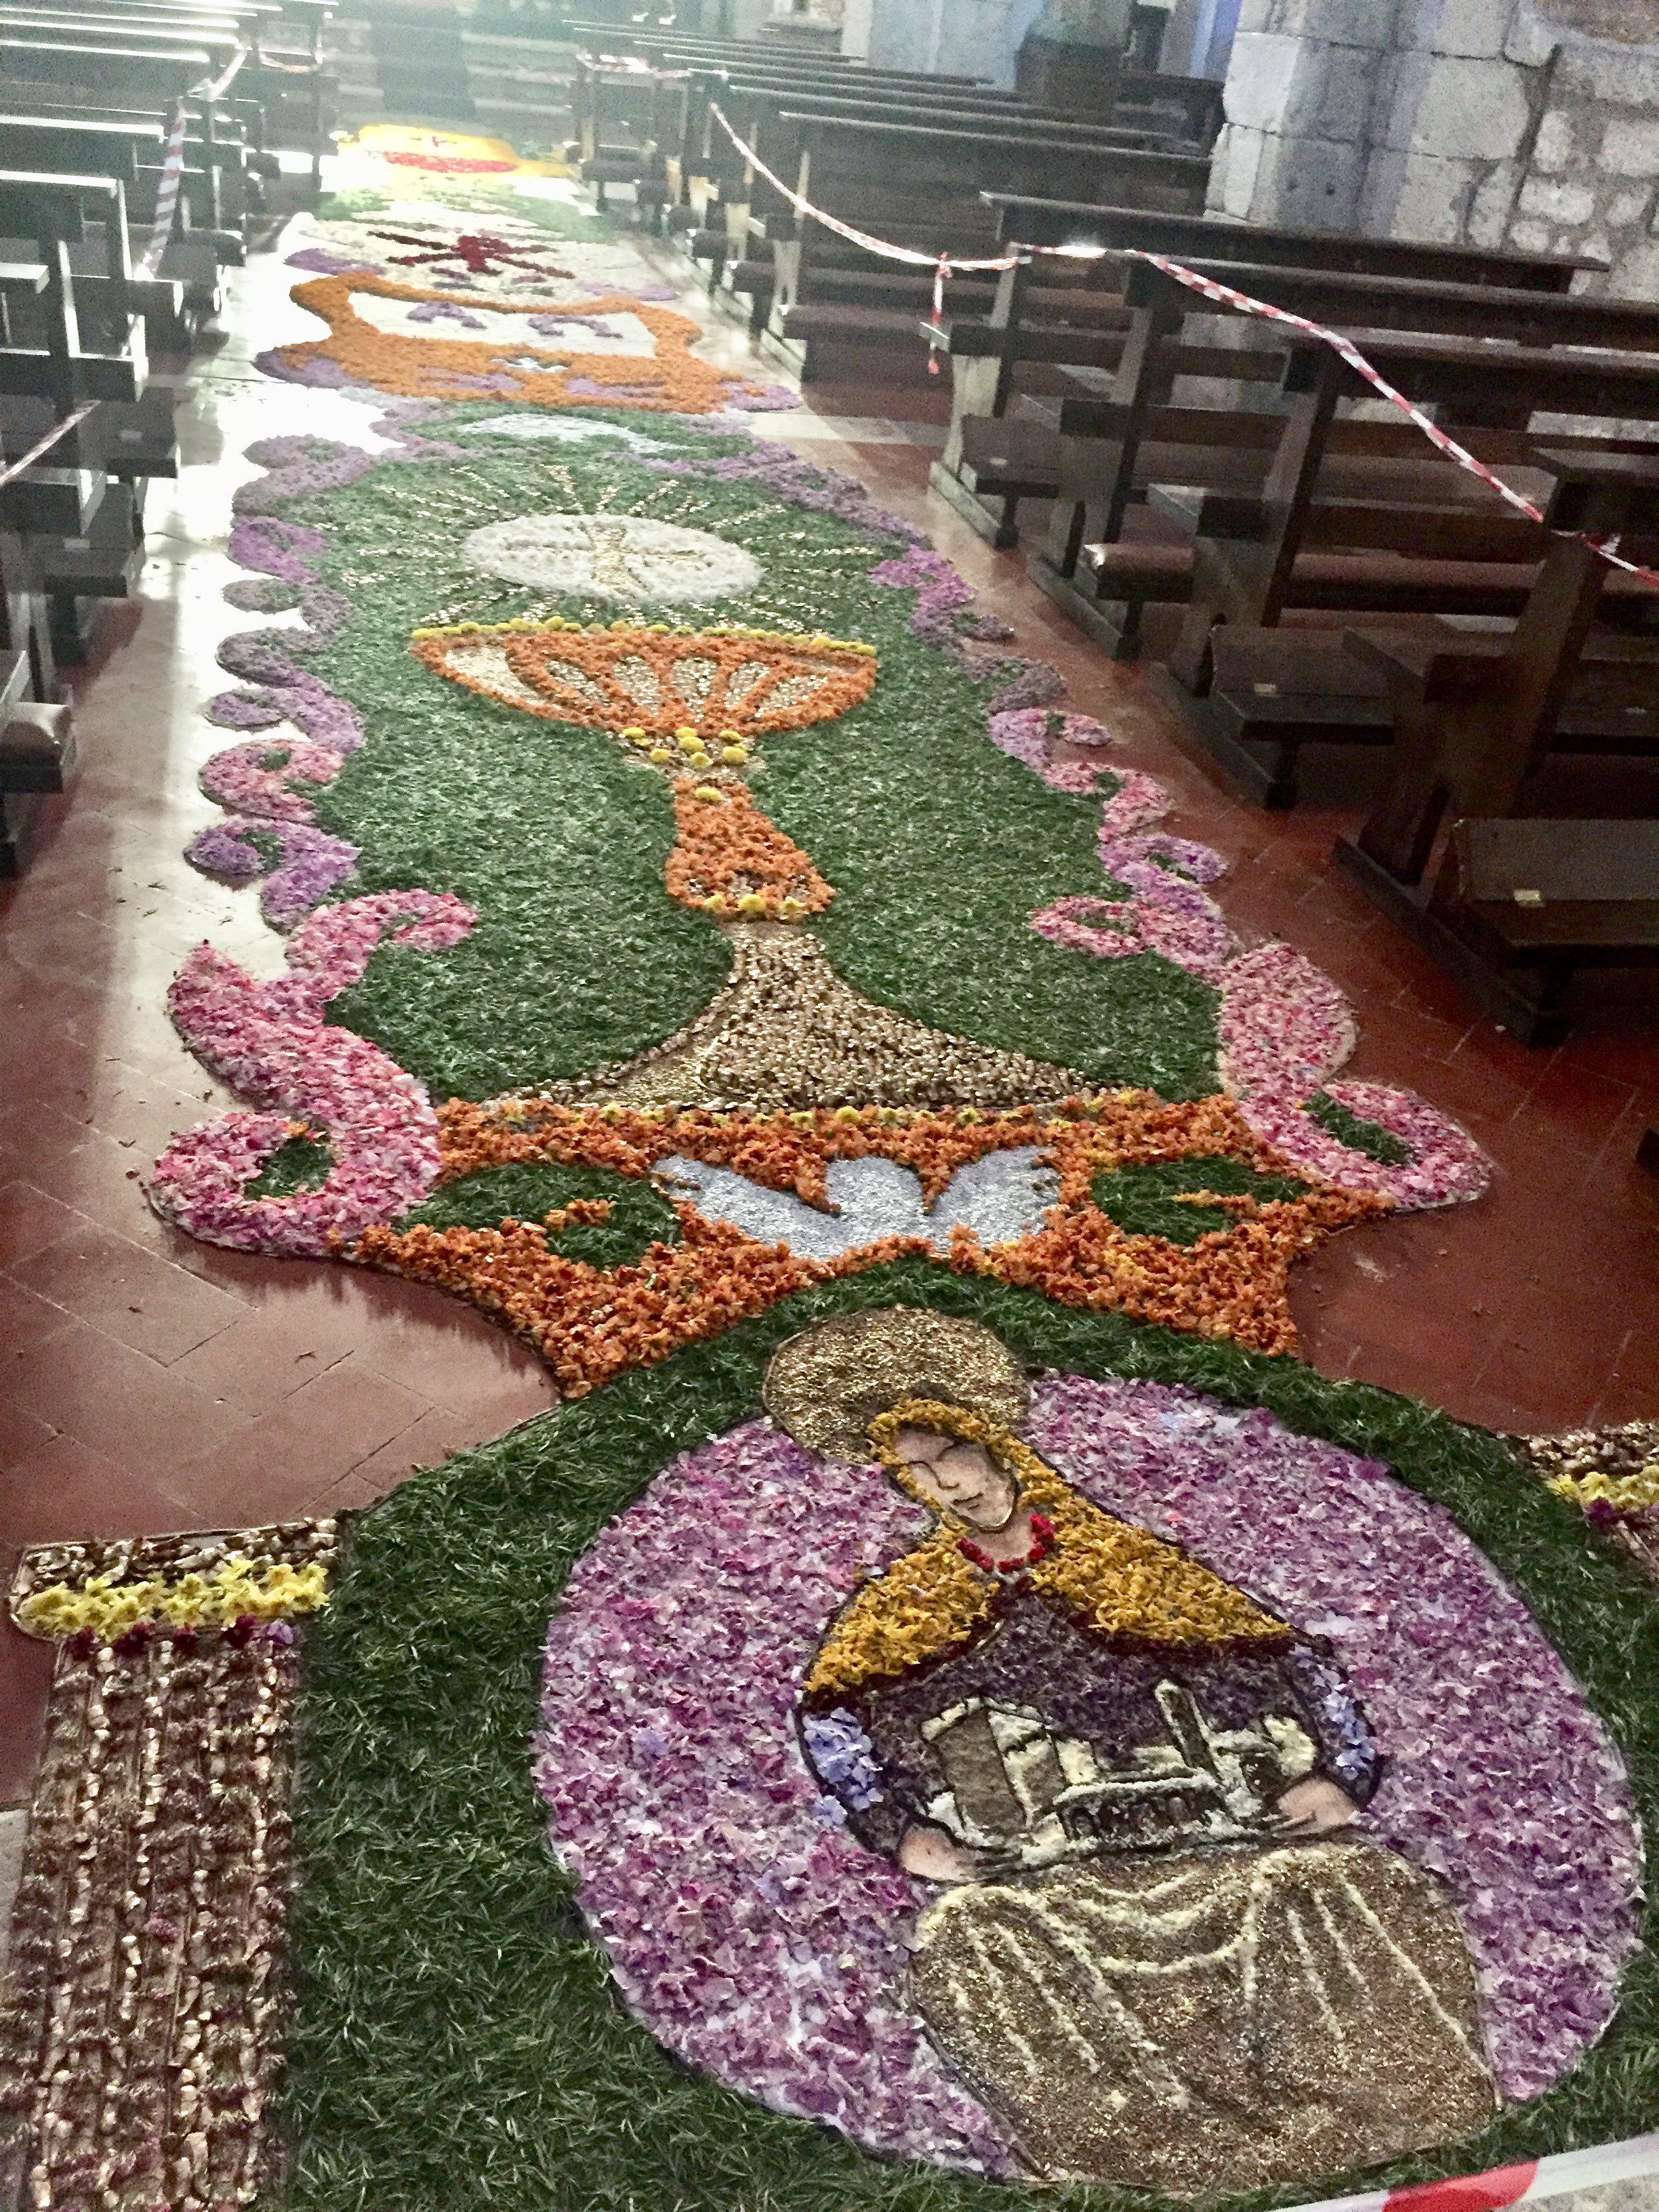
Decorated middle aisle in the Sermoneta cathedral
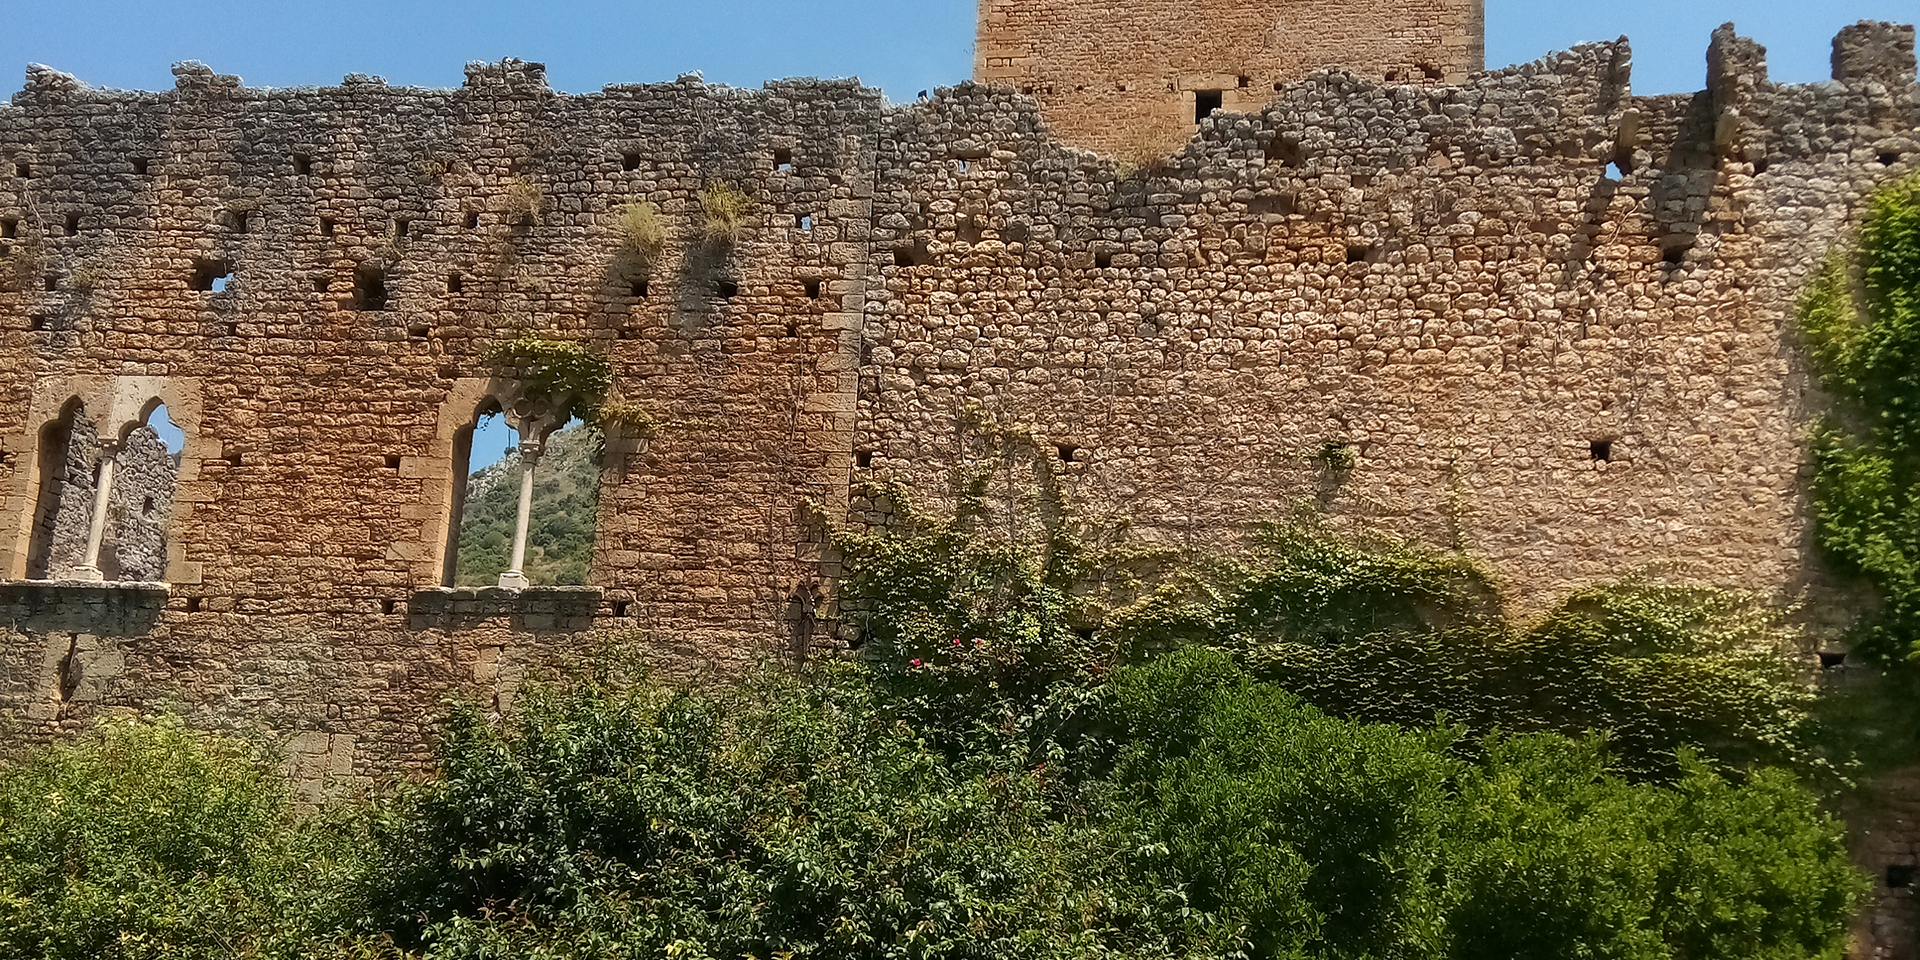
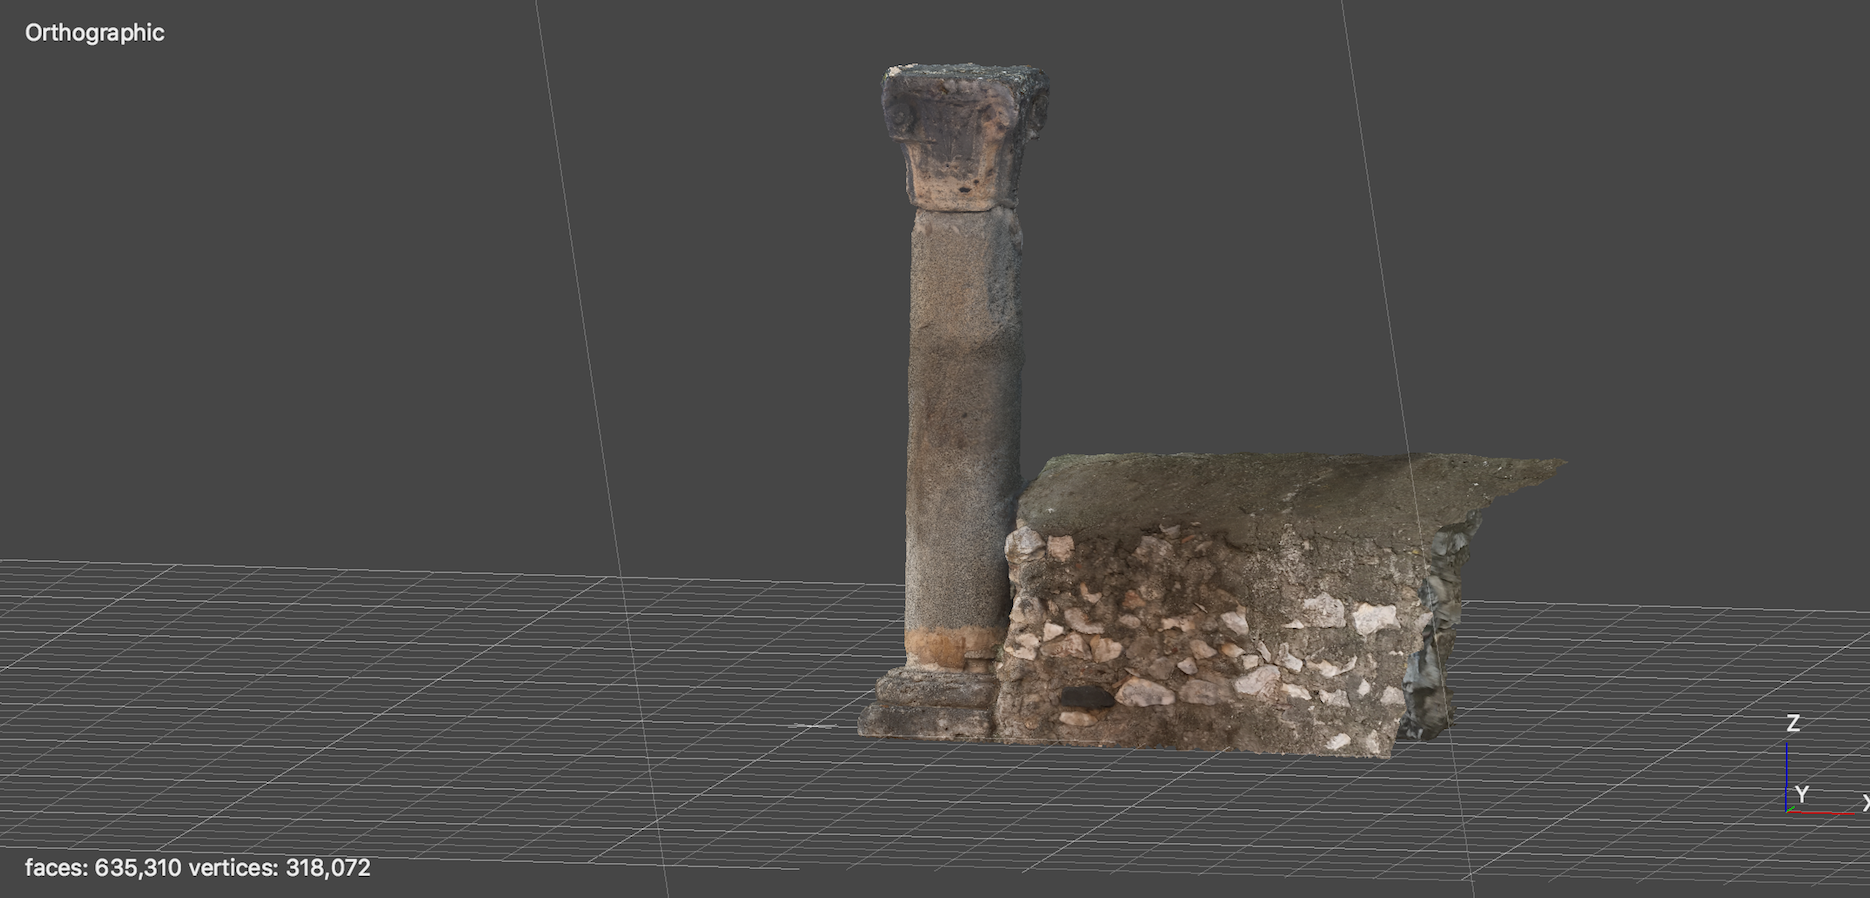
Once back at the castle, in our respective groups, we all were assigned various tasks to complete on the castle grounds, such as using XRF (X-ray fluorescence) on frescoes, thermal cameras on walls, and drones to take pictures for photogrammetry (unfortunately, the drone was never able to connect to the WiFi to complete the task). In our bits of free time, we also had the assignment of choosing our own object somewhere on the castle grounds to 3D model using photogrammetry. Some focused on modeling the water well that’s in the center of the courtyard while others tackled stone pillars, rustic benches, and even restored frescoes.
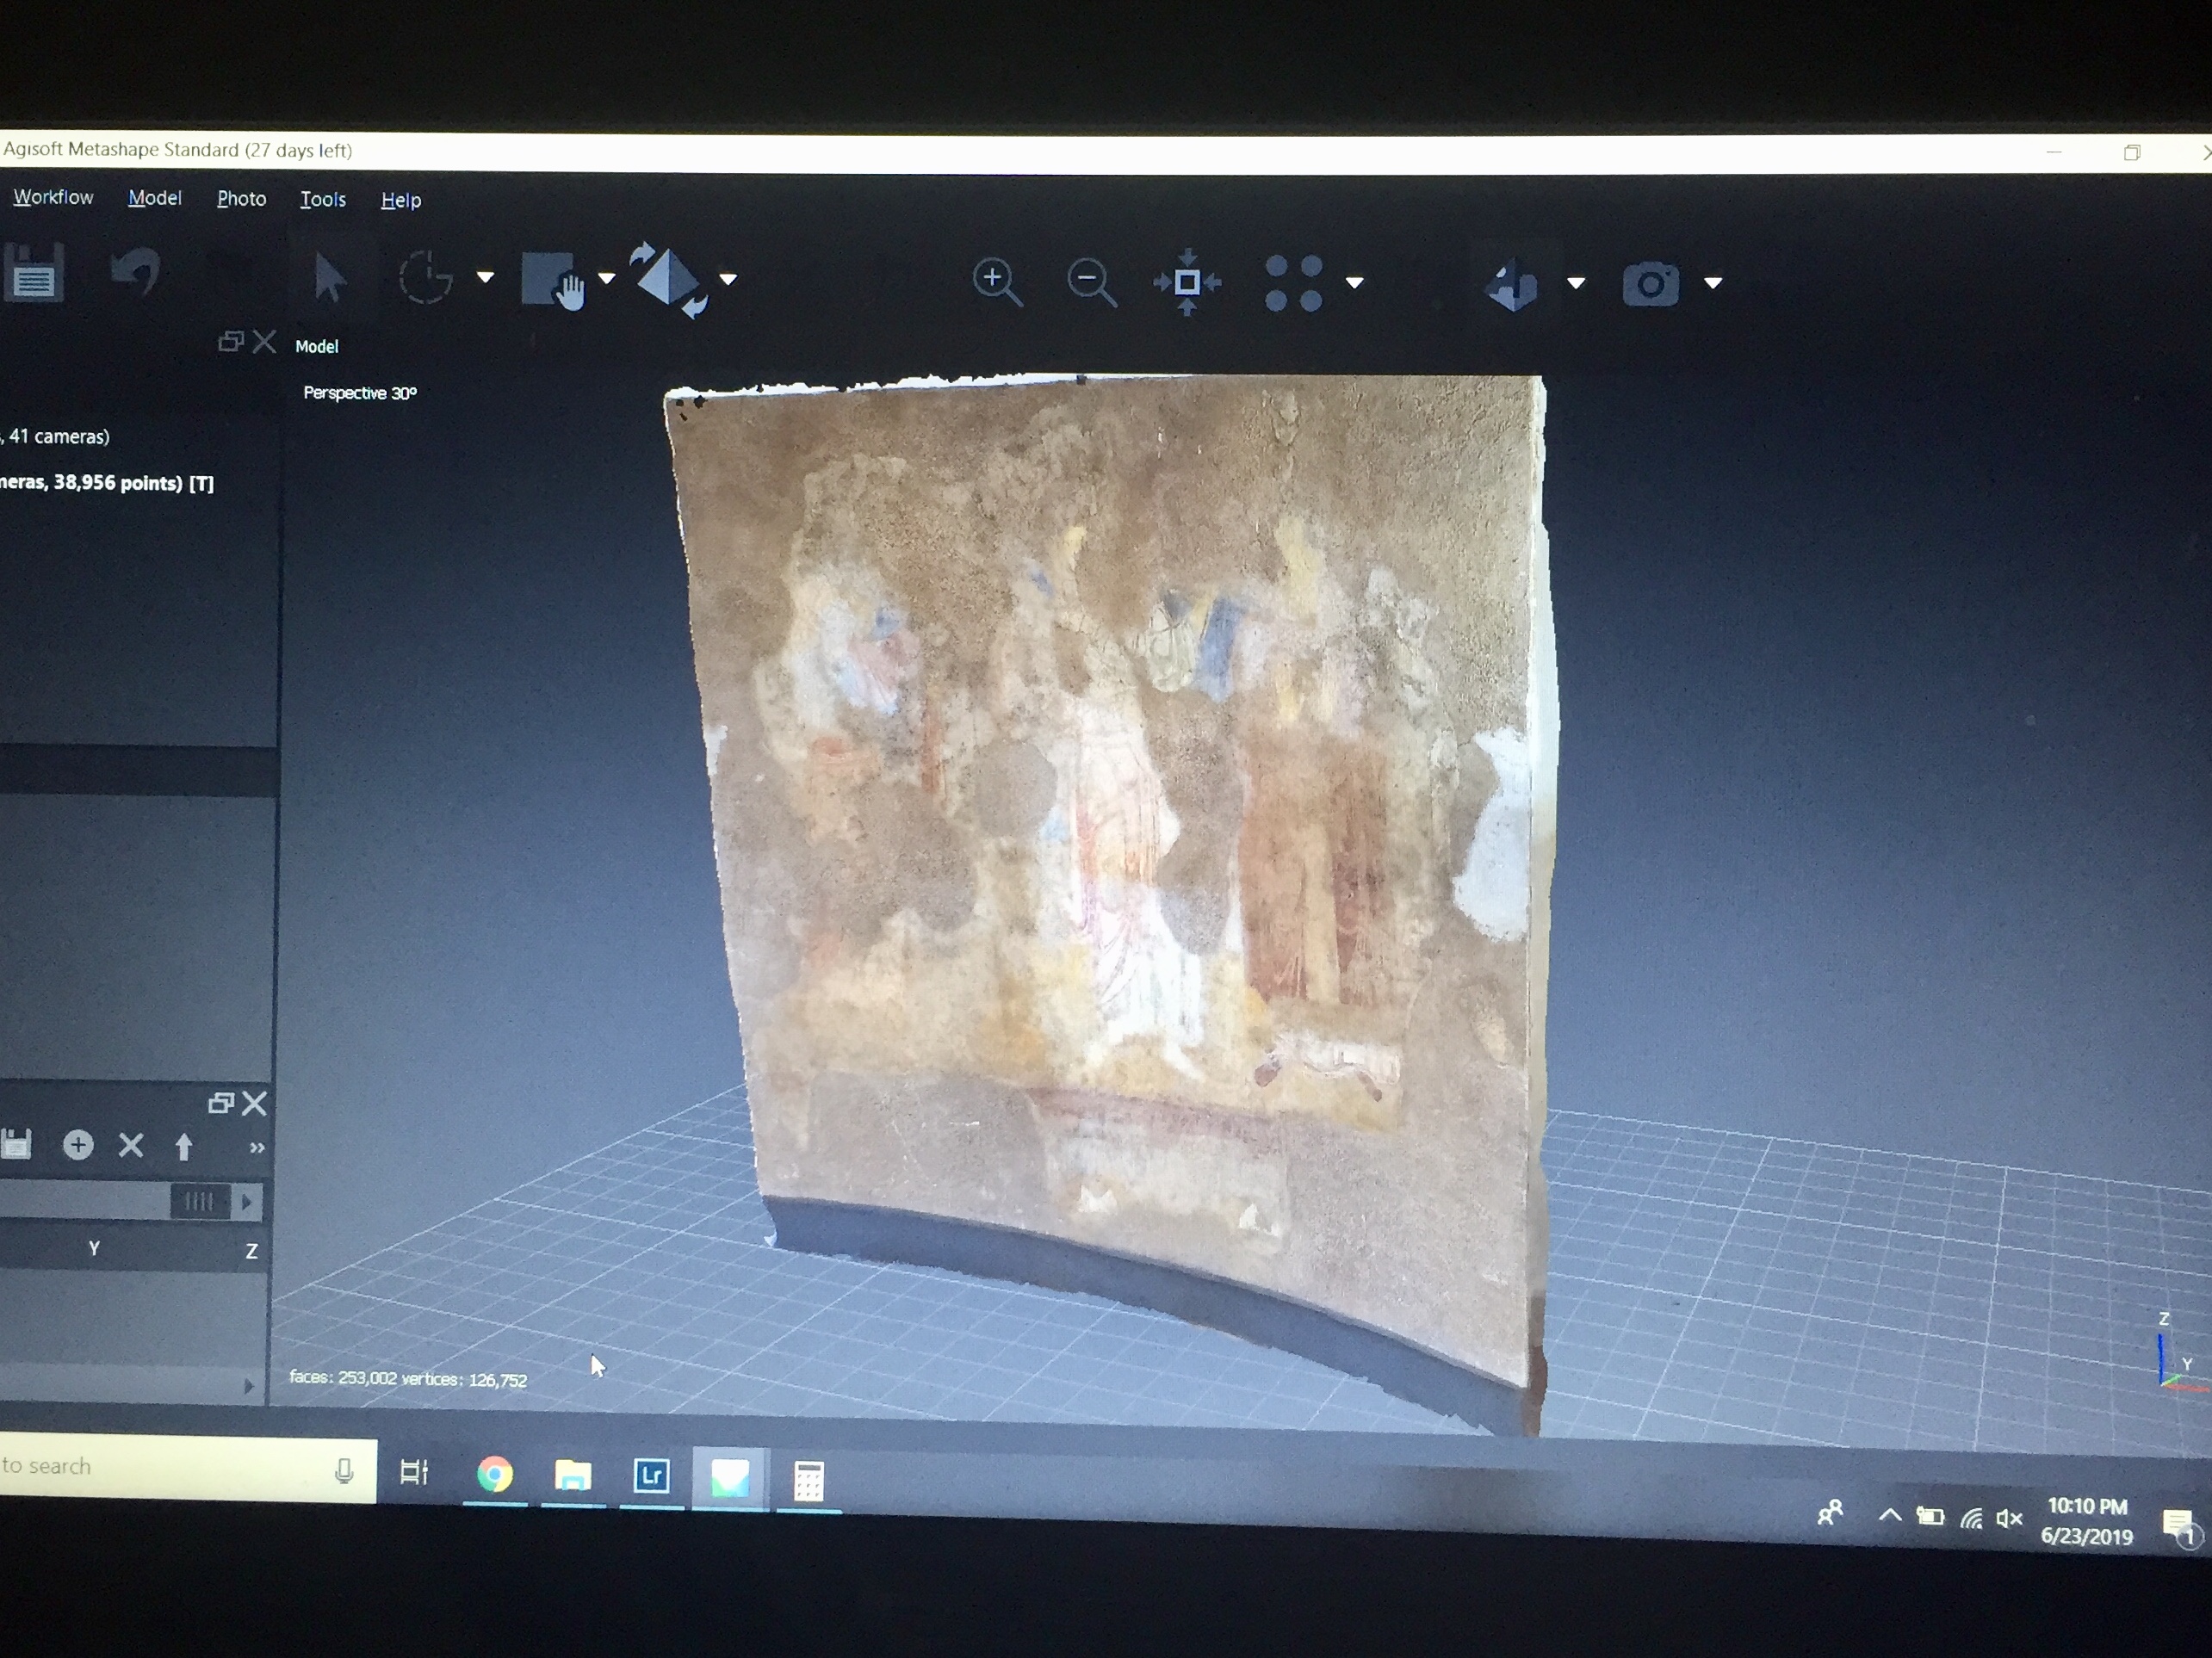
Reconstructing 3D frescoes using photogrammetry
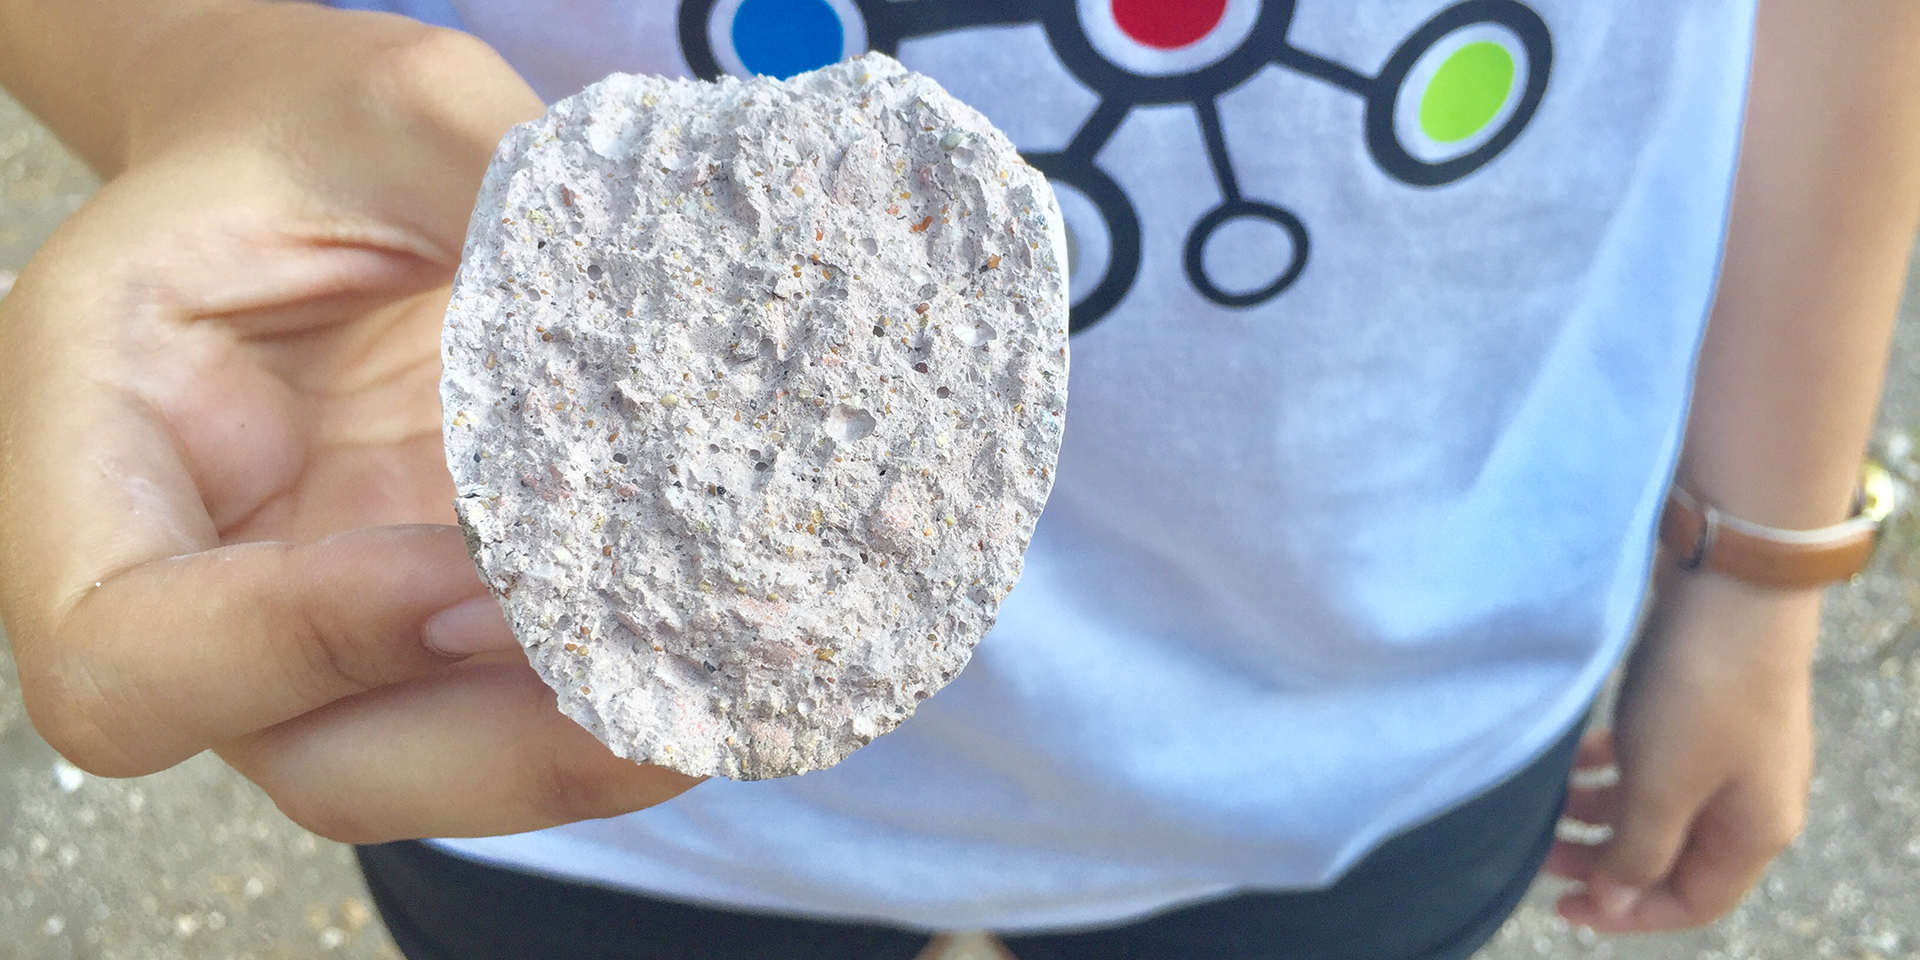
Finally, we put our mortars (made two days ago) to the test, both with respect to sustainability and strength. The first test challenged the sustainability of each mortar, taking into account carbon emissions during its production. The second test was purely Professor Masic seeing how much damage each cylinder of dried mortar could withstand. We all enjoyed this part—especially when we completed the drop test on them by letting them tumble to the cobblestone ground from a high ledge to see which broke into the lowest number of pieces. At the end of the project, we all gained a better understanding of what makes a strong mortar, as well as what one should definitely not use or do when creating a reliable one. Tomorrow we will continue on projects using our new 3D models and may attempt to beat our newly-achieved streak record in volleyball: 84!
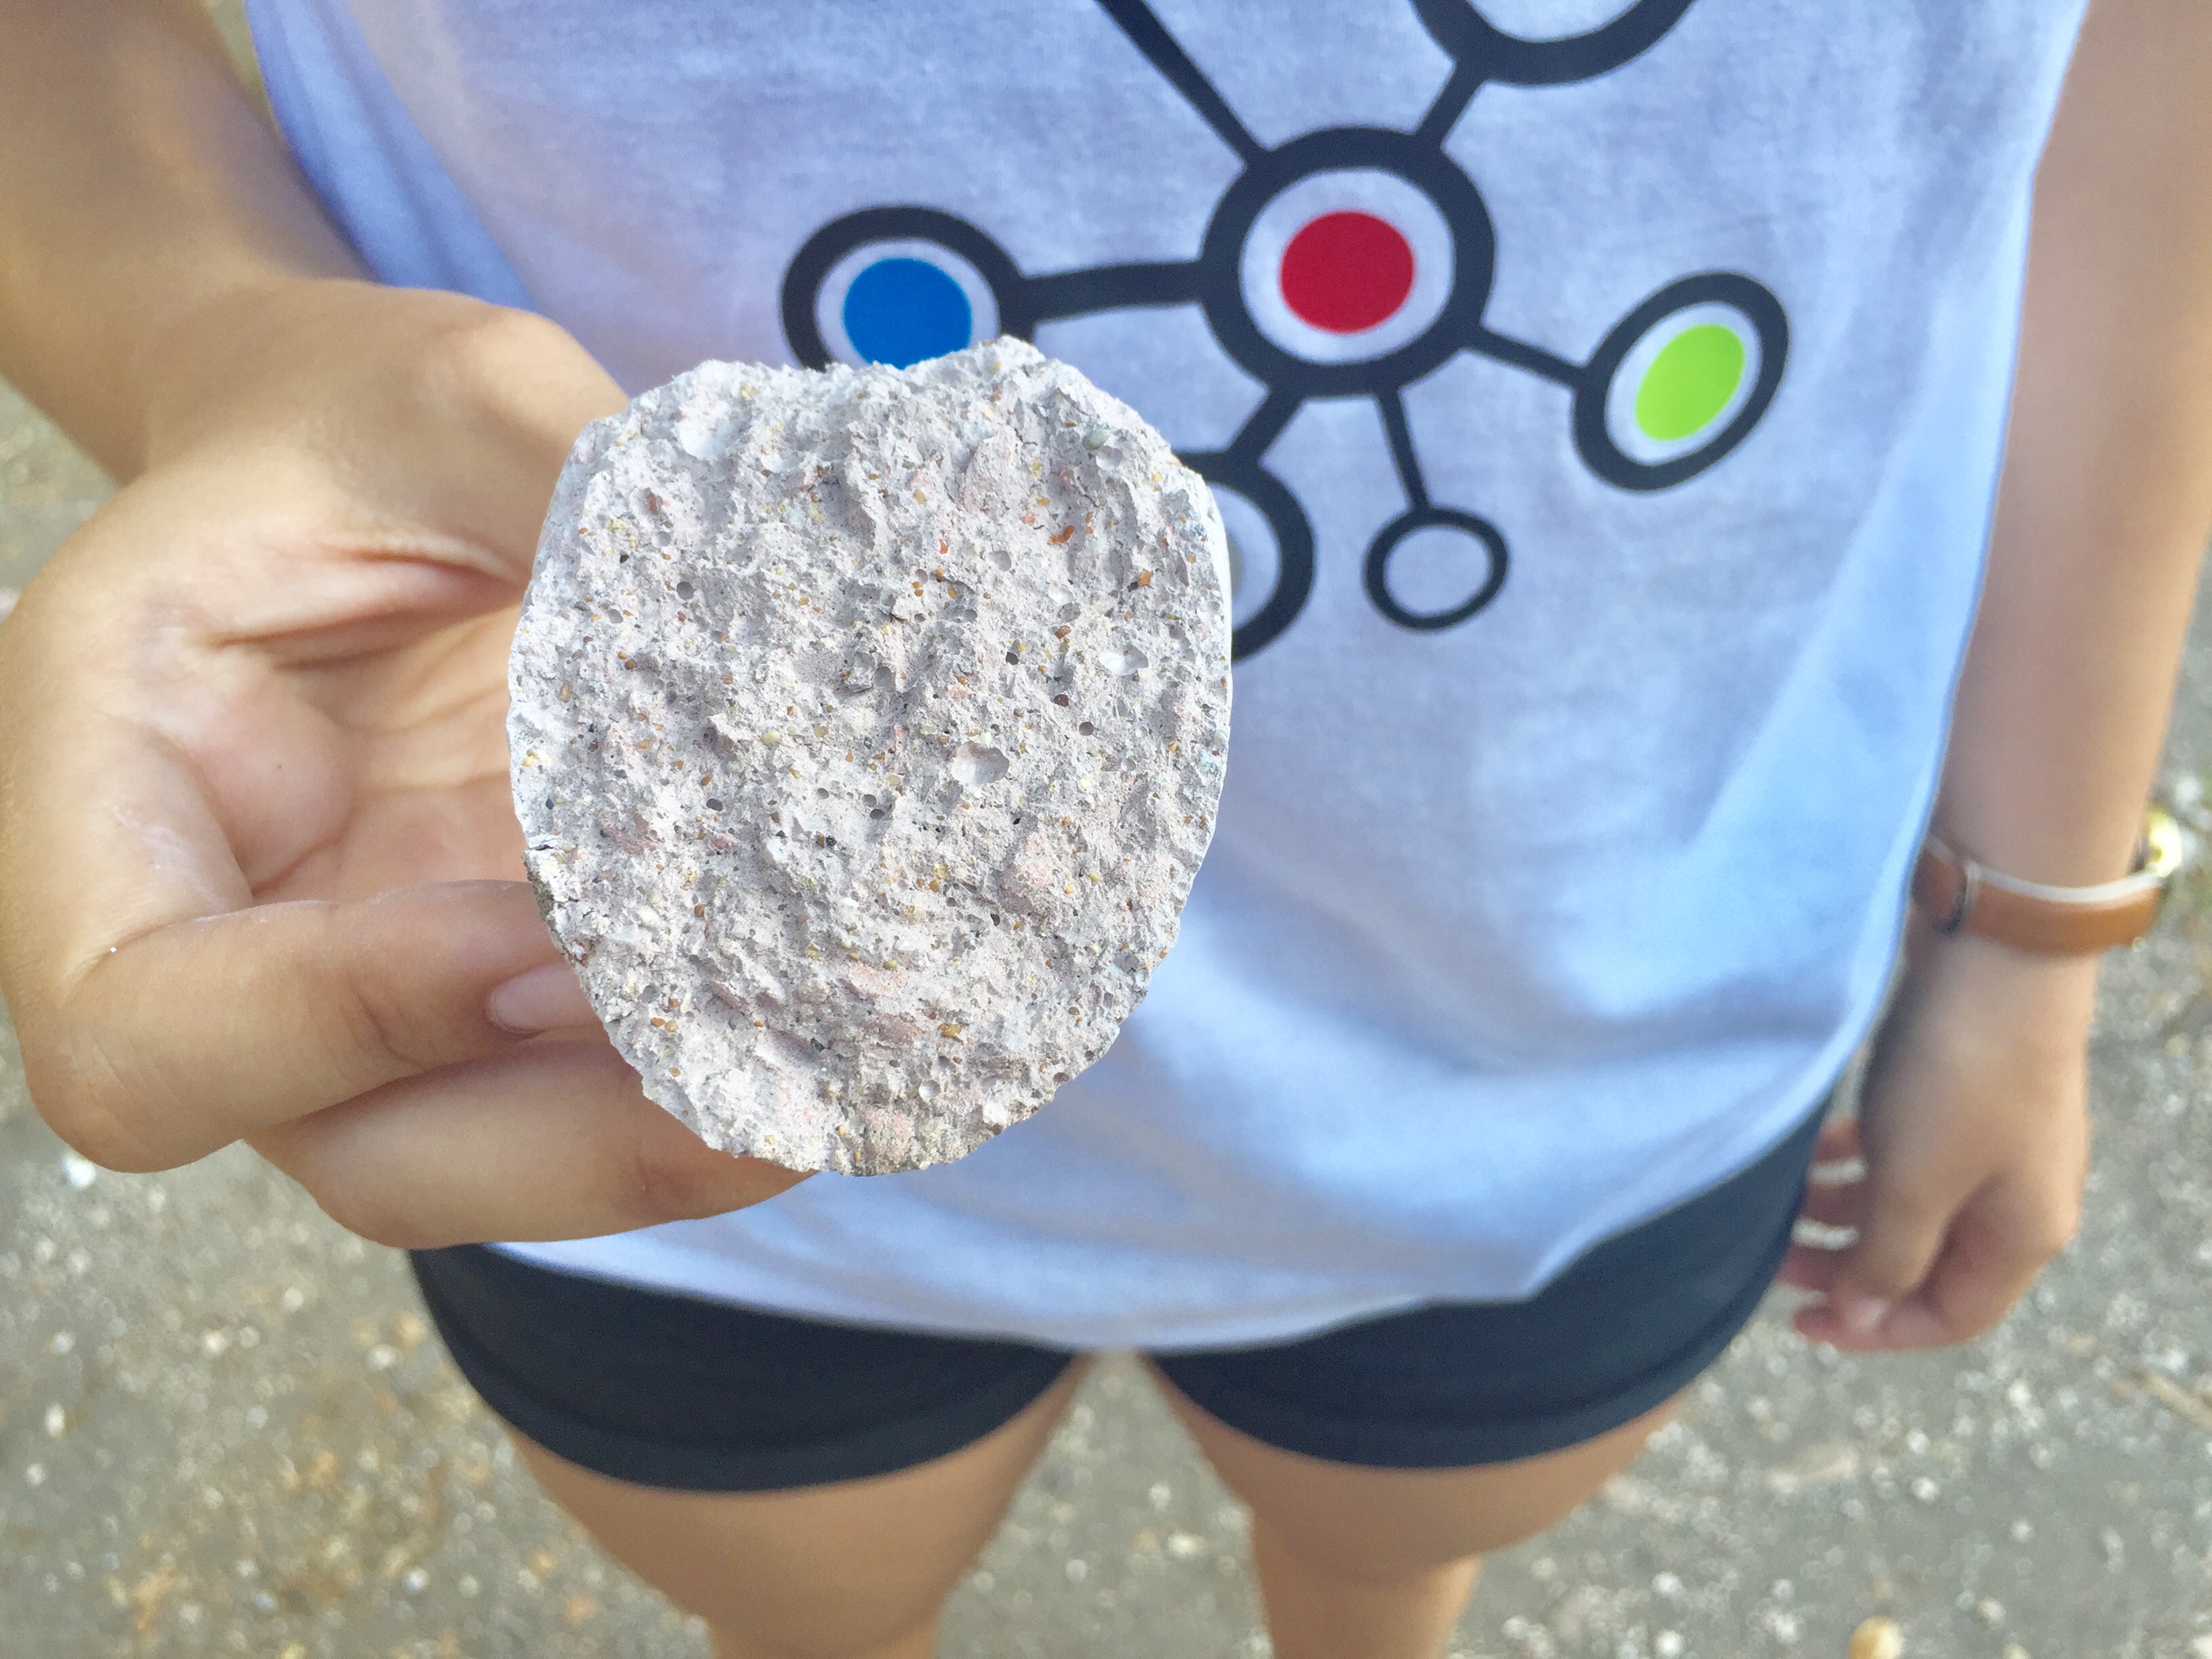
Checking out our handmade mortars
Share on Bluesky

