Mechanics of Materials: Mixing Concrete
By Rayna Higuchi ’20
Hi CEE! I’m Rayna, a student in the Mechanics and Materials track, blogging about my experiences in Course 1. Today I’ll be talking about the class Mechanics of Materials (1.035), taught by Professor Ulm, with additional instructors Stephen Rudolph and Omar Al-Dajani.
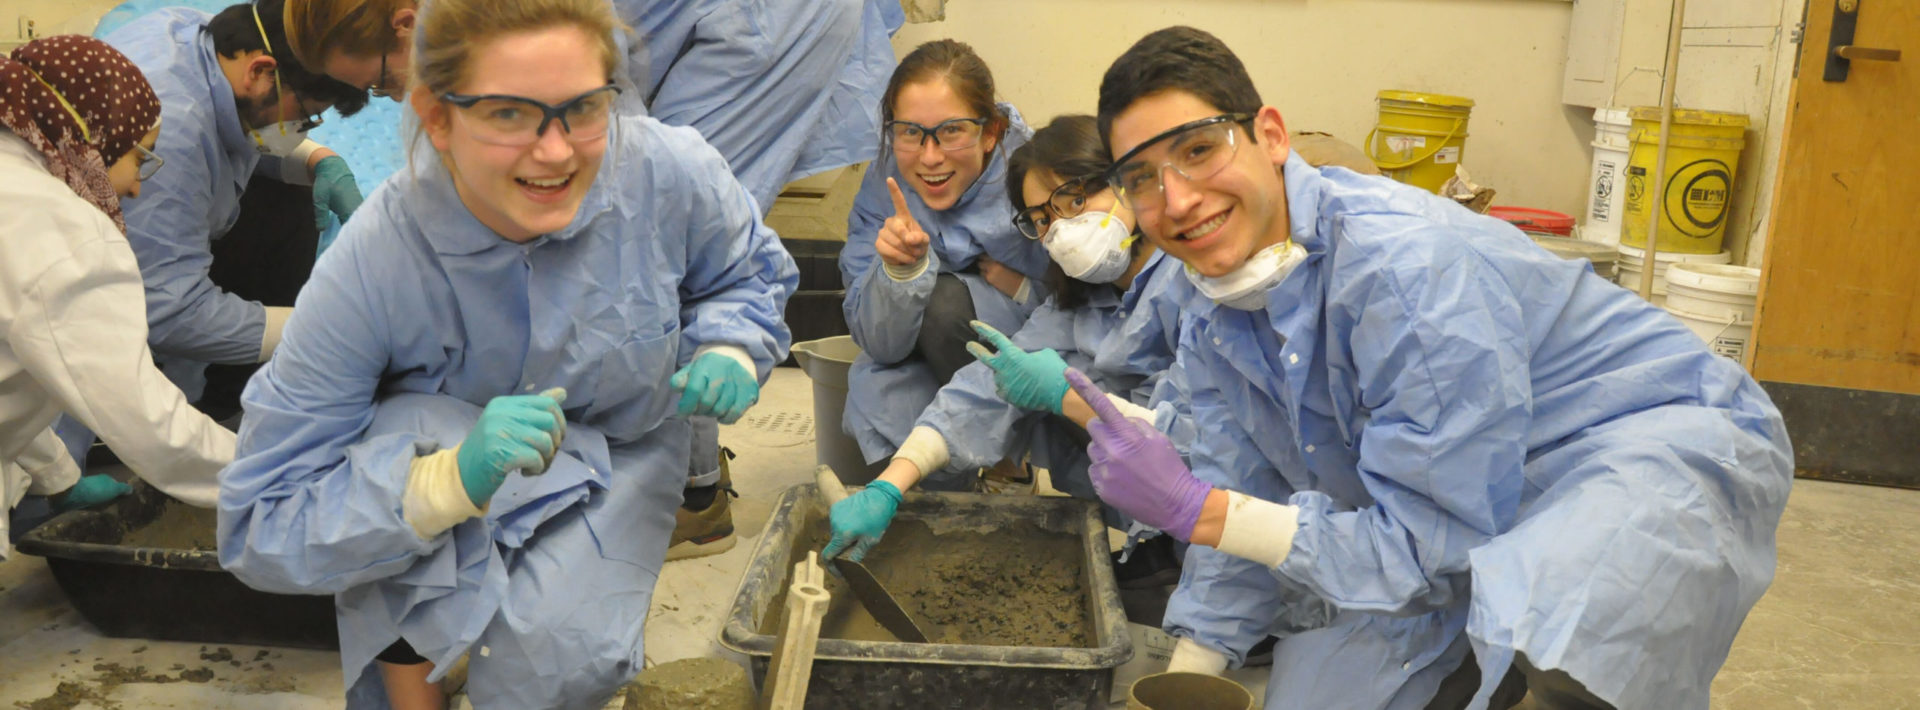
The purpose of the lab we ran on February 27th was to study the rheological properties of a concrete mixture. Rheology is a branch of physics that deals specifically with material flow and has been the subject of the course for the first several weeks. Given its purpose in everything from roads to bridges to skyscrapers, it is crucial that we understand how concrete moves before hardening.
As a homework, we were tasked with determining the optimal proportions for a concrete mix. We thus came to class with the calculated ideal mix proportions of water, cement, sand, and gravel. These are the most basic materials of concrete. The sand and gravel, known as the aggregates, take up space in the concrete so that we don’t need as much cement, which acts as the glue holding everything together. Finding good values for each of these is important. Cement is the ingredient that requires the most energy to produce, and thus releases the most carbon dioxide. If we can minimize this, we will drastically reduce the carbon footprint of a project. However, with too little cement, the material will begin to lose strength. Determining these values is a balancing act, and will change depending on the requirements of the final concrete, the aggregates used, and the type or components of the cement.
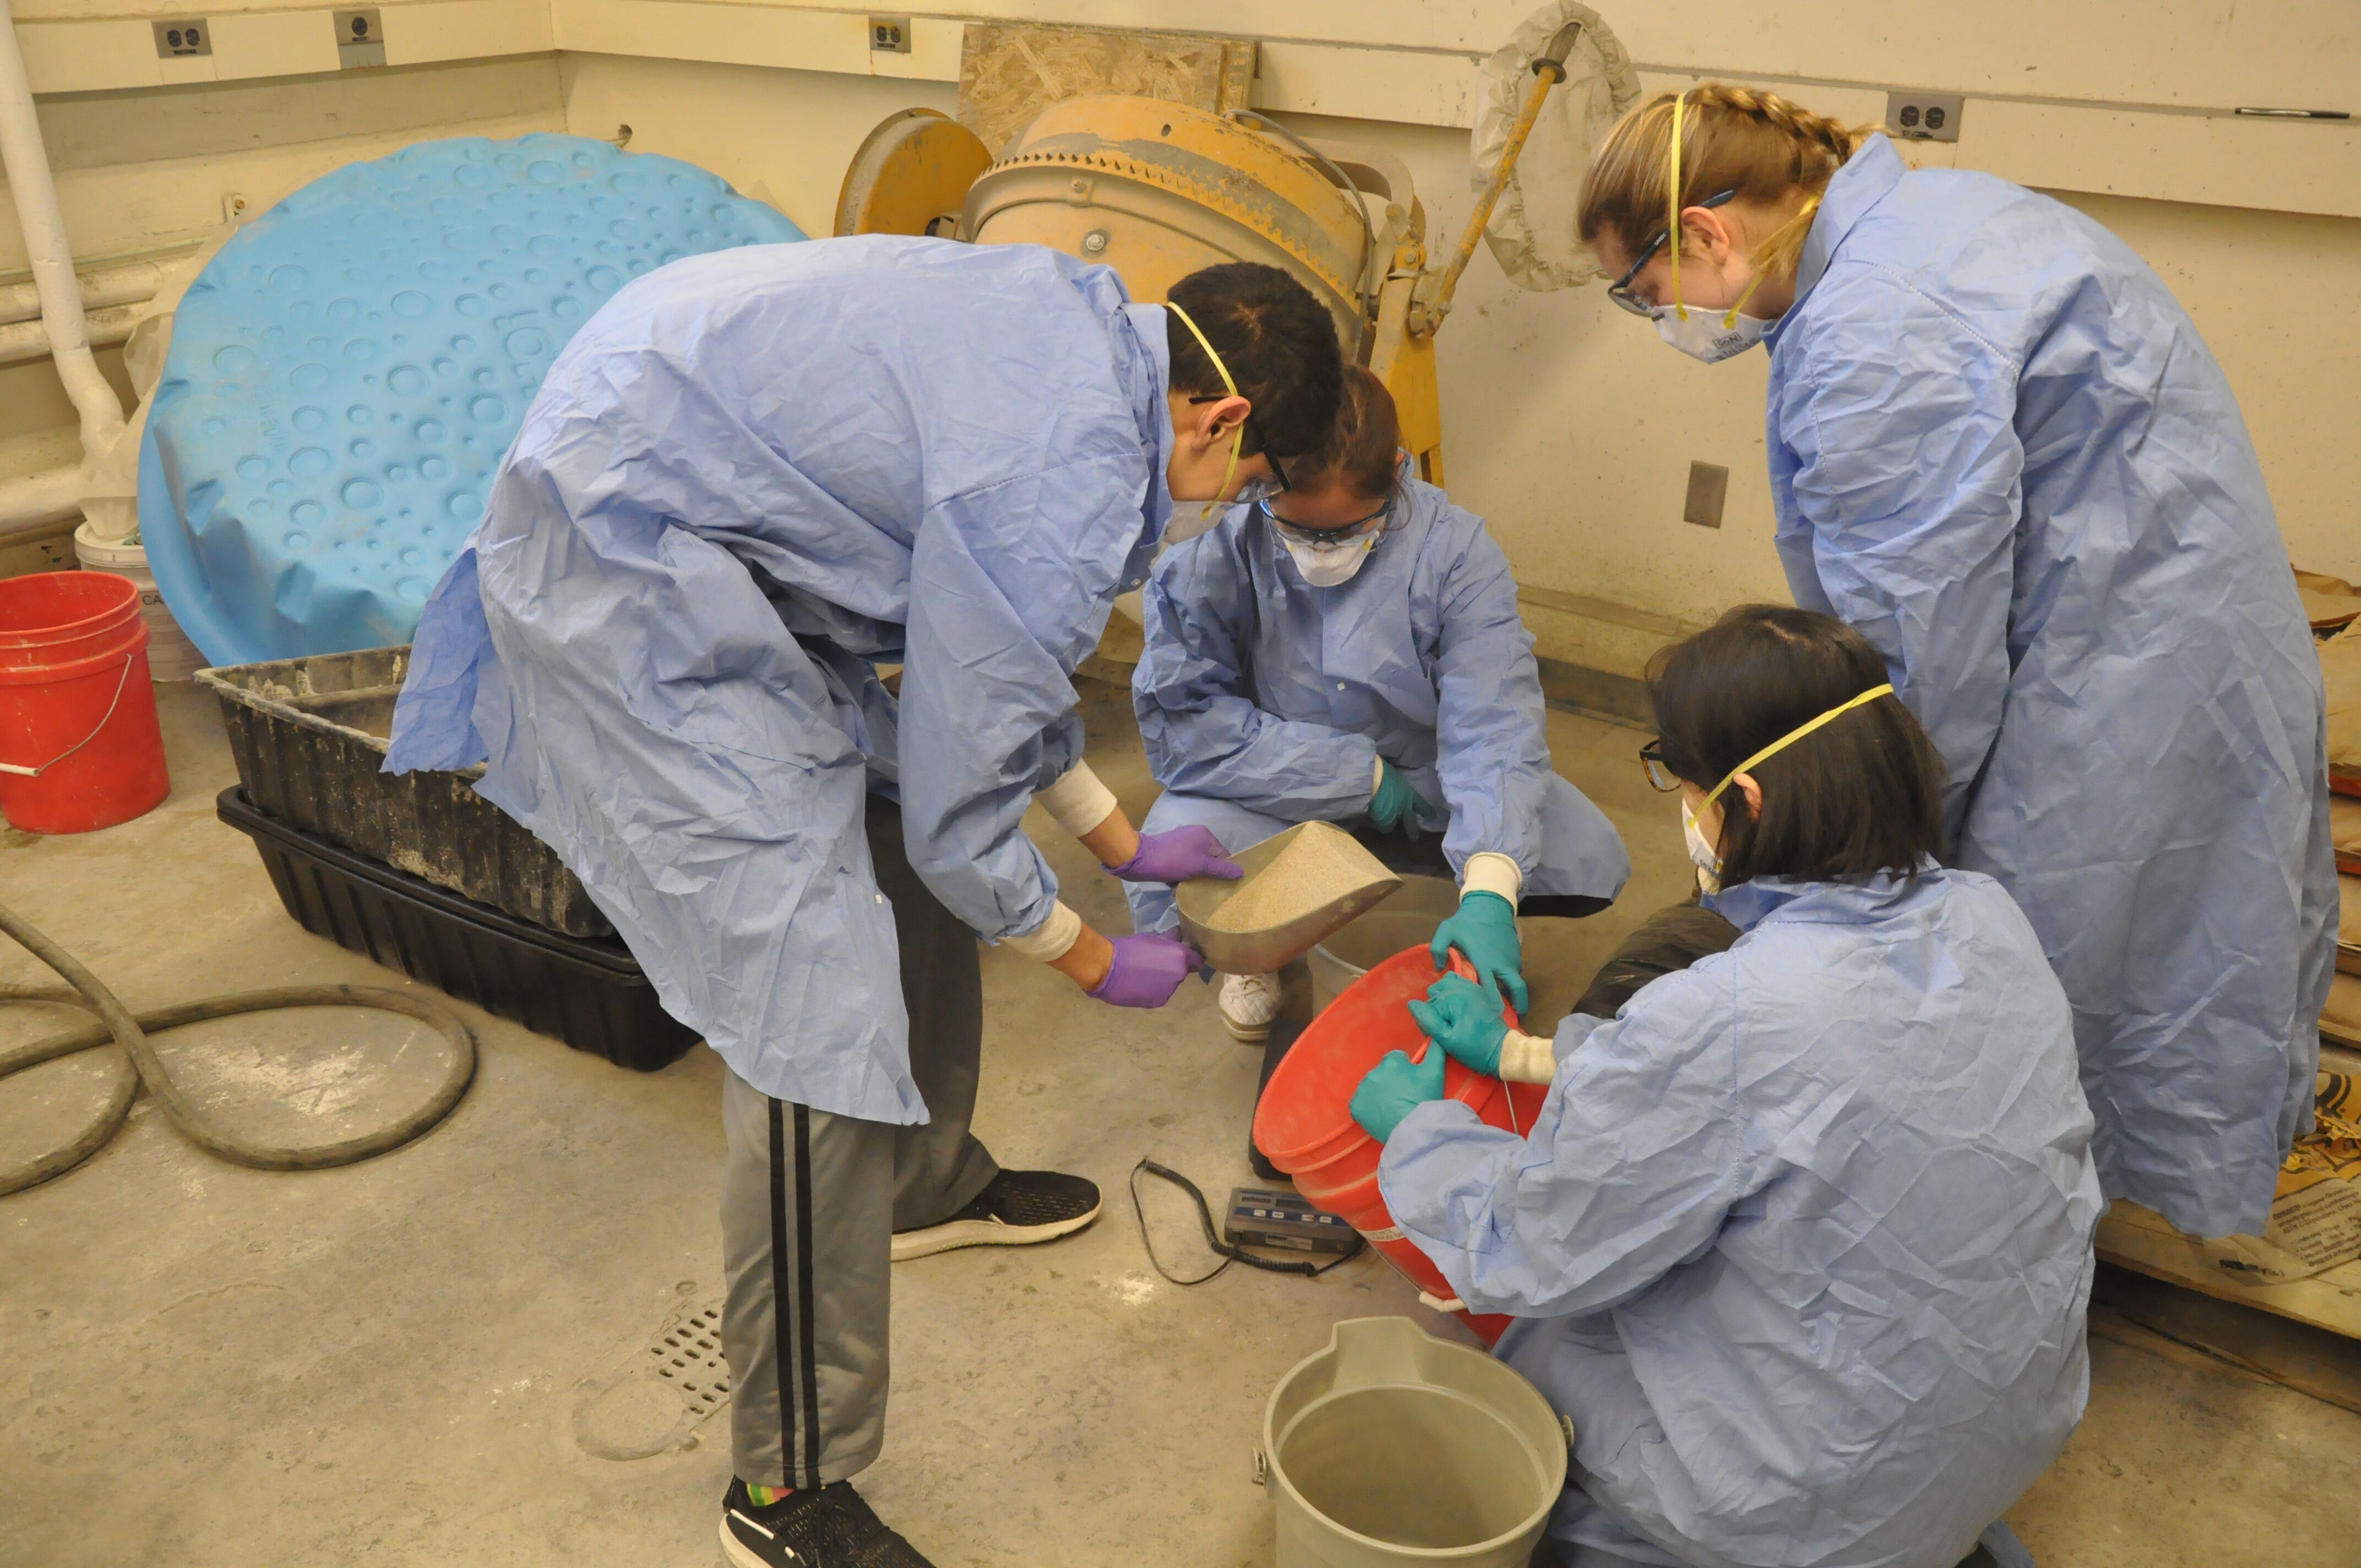 Claire Holley (’21), Rayna Higuchi (’20), Chelsea Watanabe (’21), and Luke Bastian (’21) measure components pre-mixing. Photo courtesy of Stephen Rudolph.
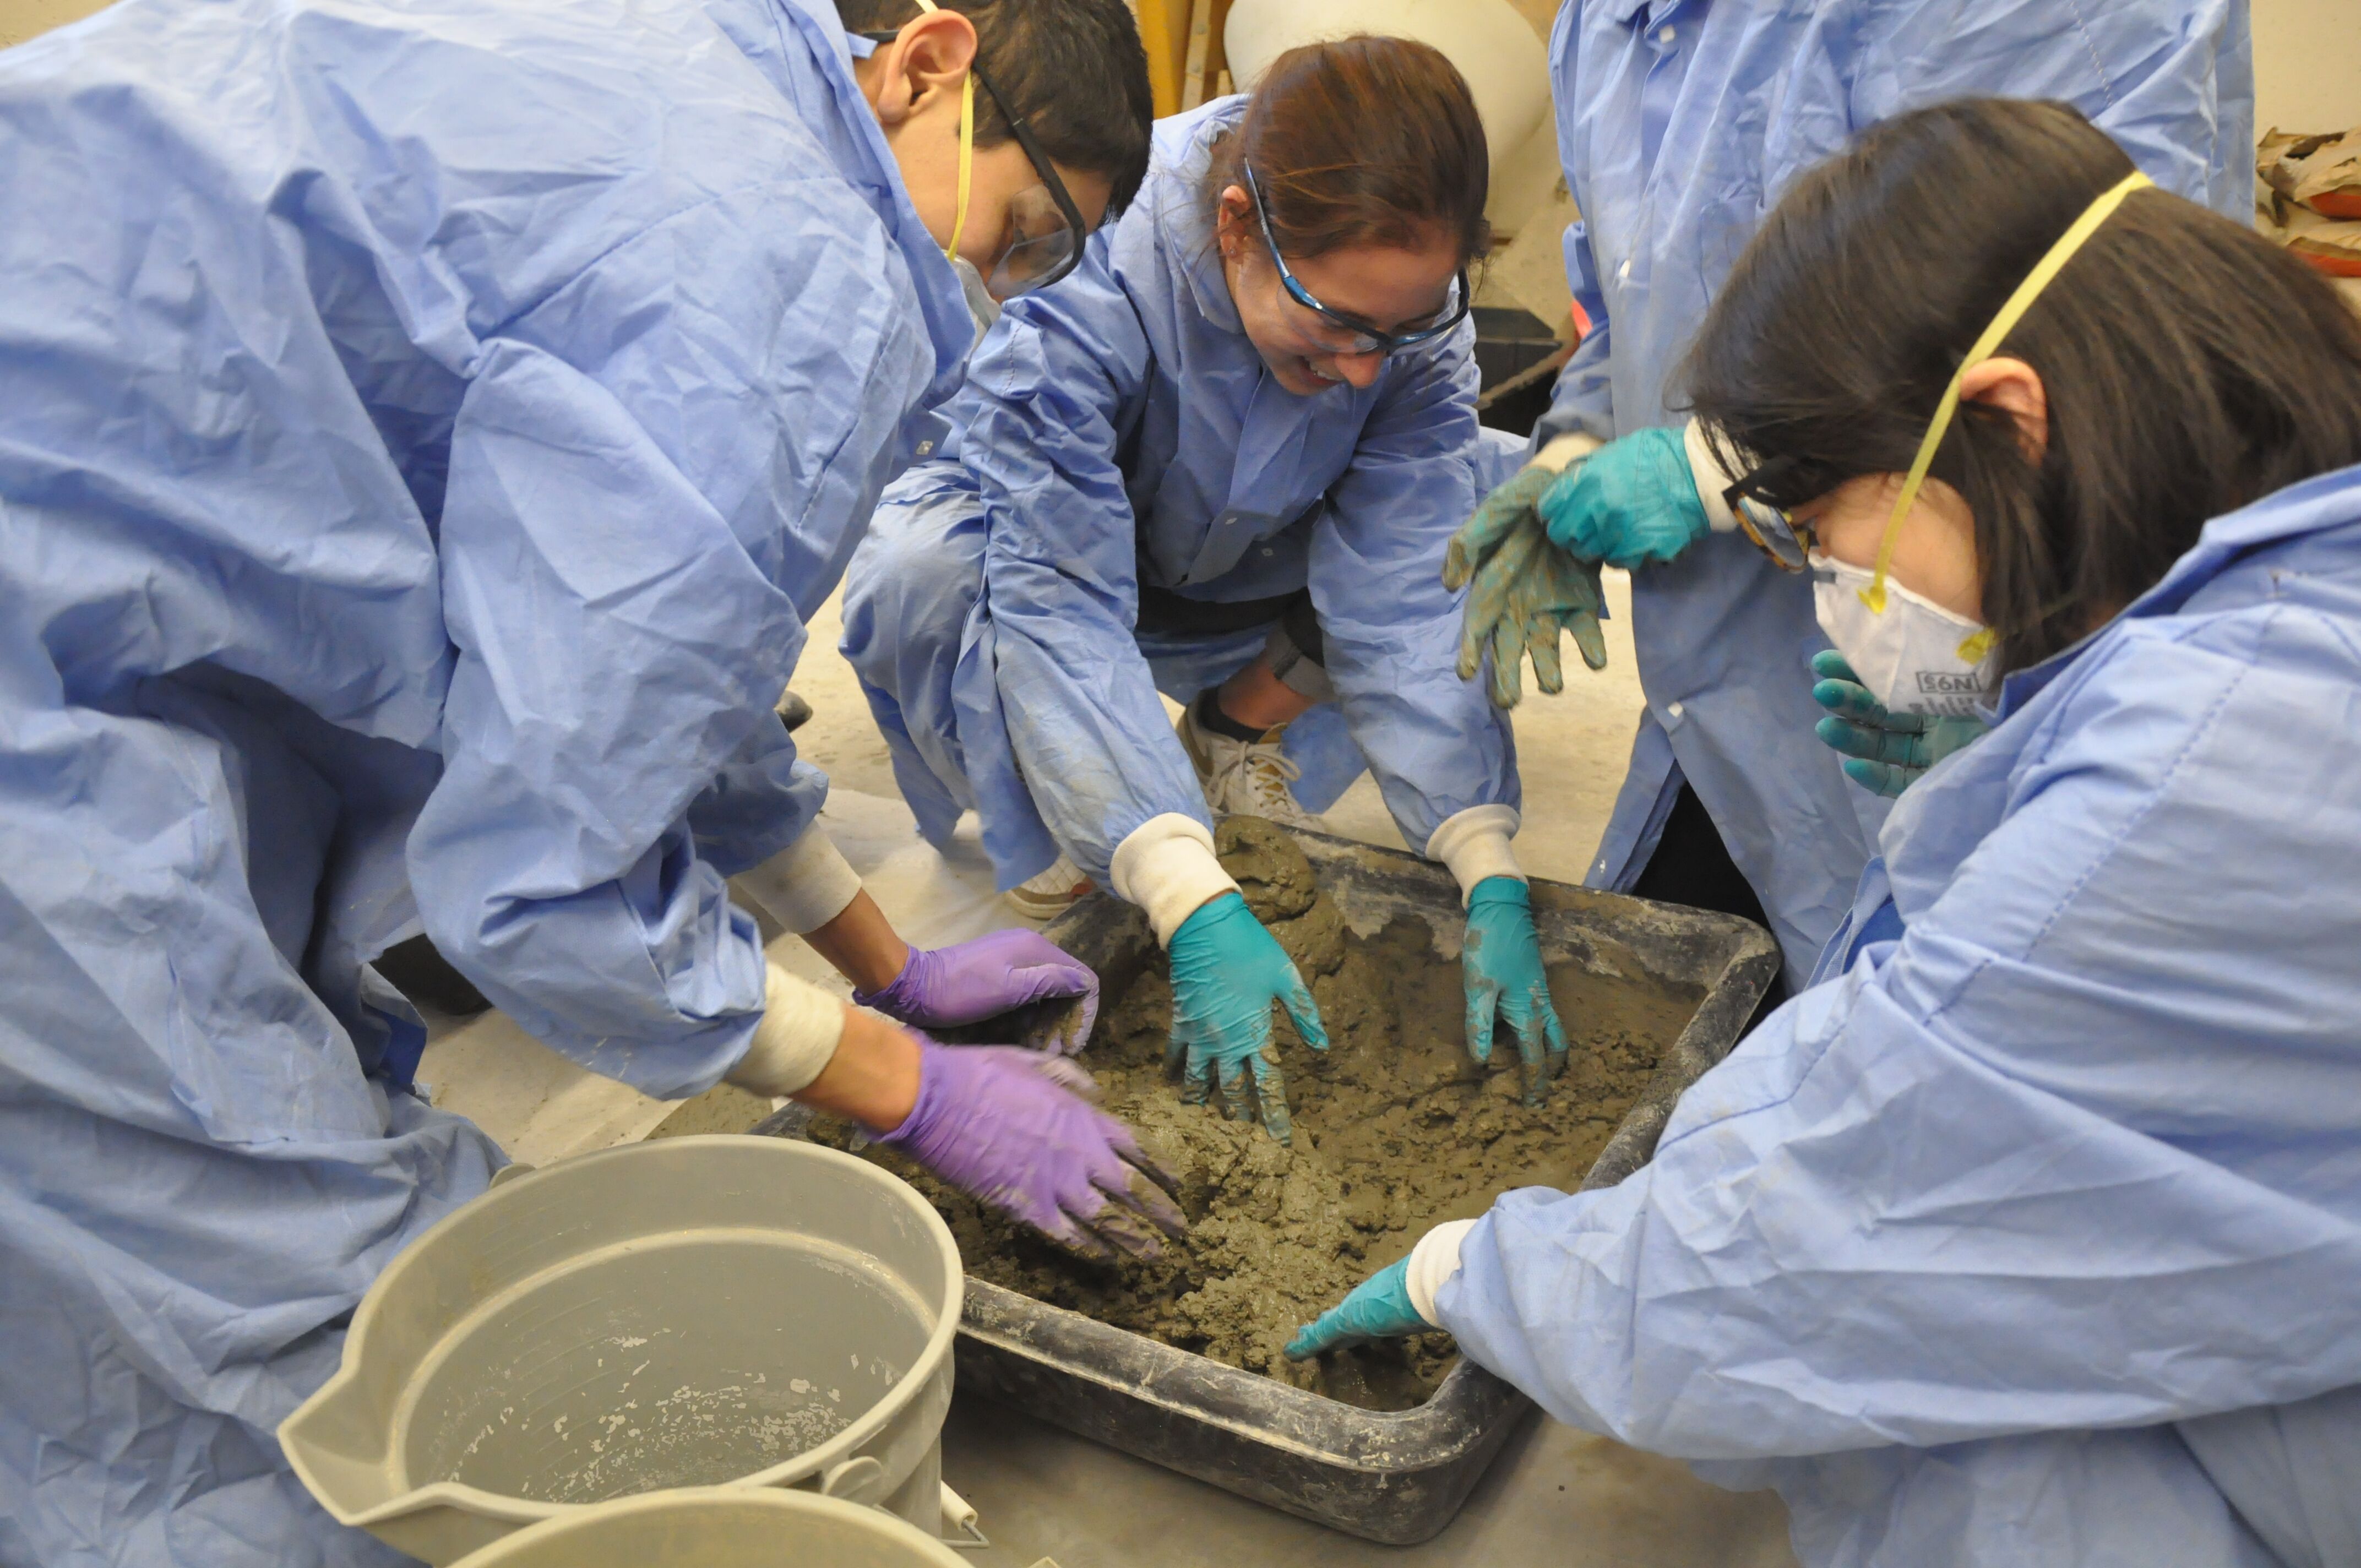
Much like baking a cake, we first mixed together the dry ingredients, then added water. The mixing was the fun part—once everything was wet, we could take off our dust masks and play around with the concrete. My group, self-named “Boyfriend Material,” built a snowman! Alas, Crunchy the Cementman had an even shorter lifespan than his snowy counterpart. It wasn’t long before he faded into an unrecognizable blob.
 The birth of Crunchy the Cementman. Photo courtesy of Stephen Rudolph.
Following mixing, we performed a slump test. This is a common test used to determine the pumpability/workability (how easy the concrete is to pump or otherwise manipulate) of a concrete mixture. You fill up a cone 1ft high, then lift the cone straight upward. The change in height, known as the slump, can be used to gain insight as to how easily the concrete will flow. Depending on your project, you might desire lower or higher workability. A simple method to increase the workability is to increase your water ratio, but this will likely reduce the final strength of your concrete. Instead, a common method to increase pumpability without compromising the final strength of the concrete is to add something called a superplasticizer. As a liquid, the concrete will appear to be waterier, but will have similar hardened strength values as without the superplasticizer. This is useful to creating high-performance concrete.
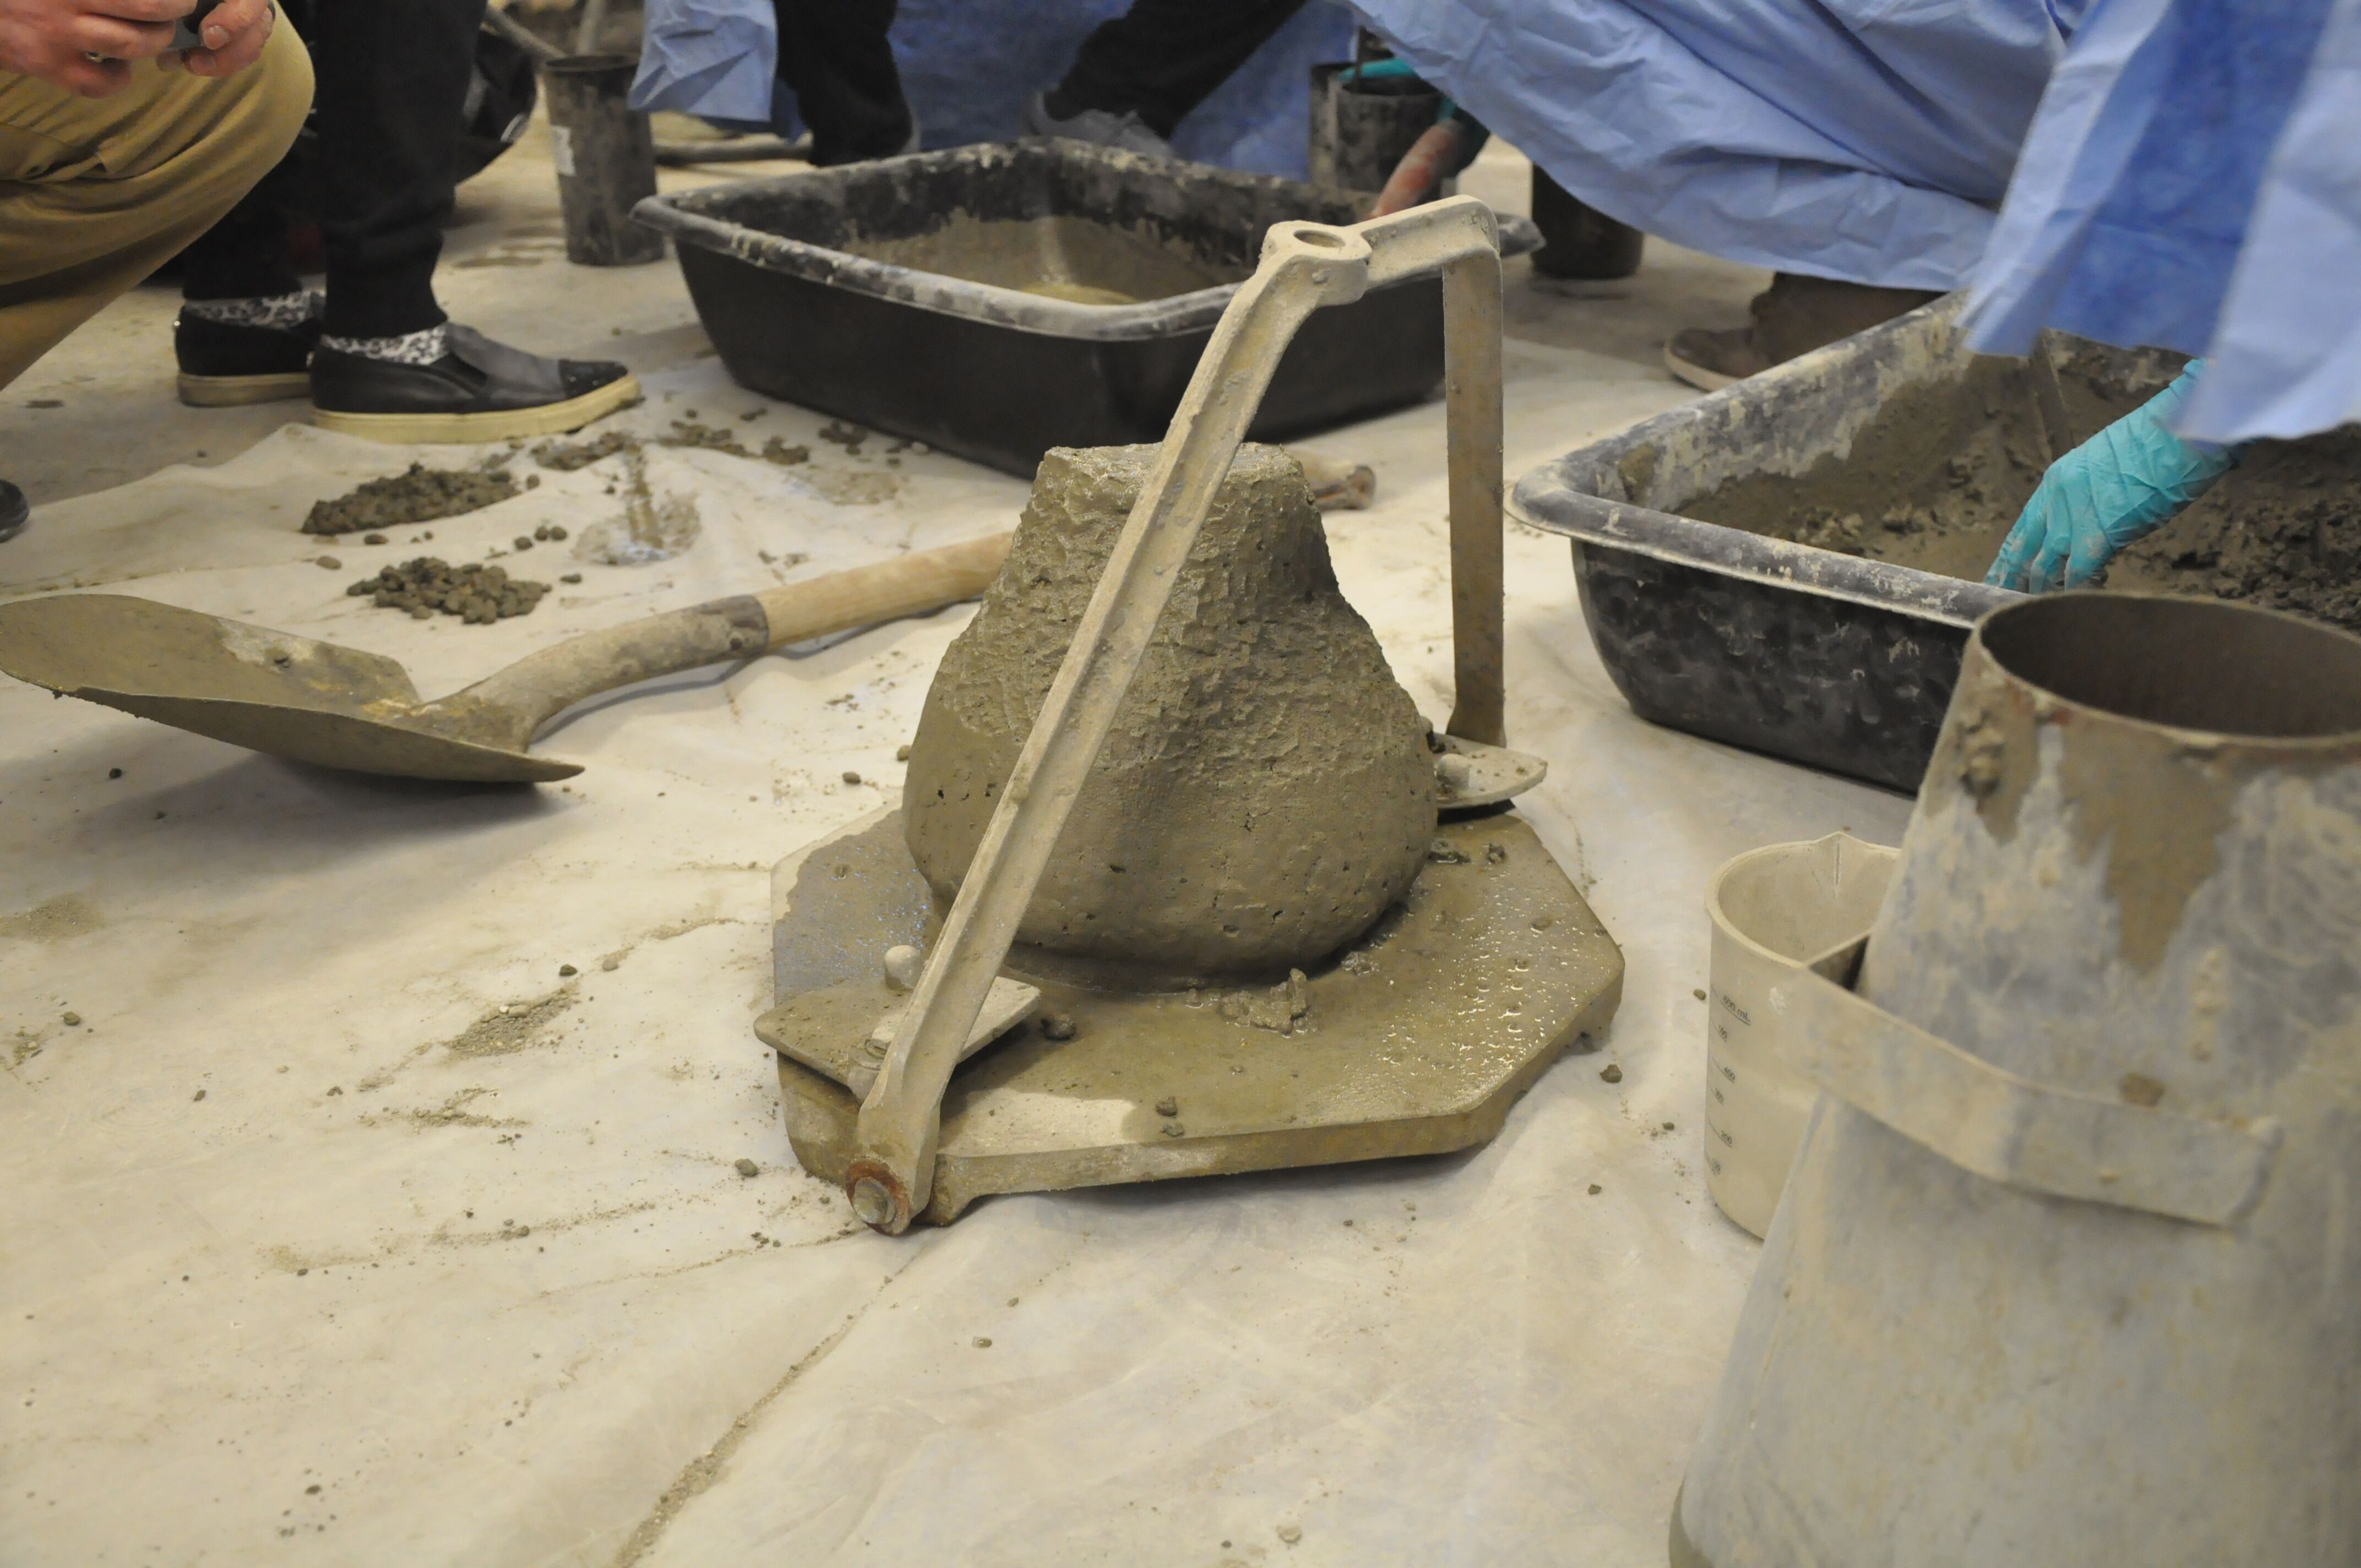 A beautiful slump. Photo courtesy of Stephen Rudolph.
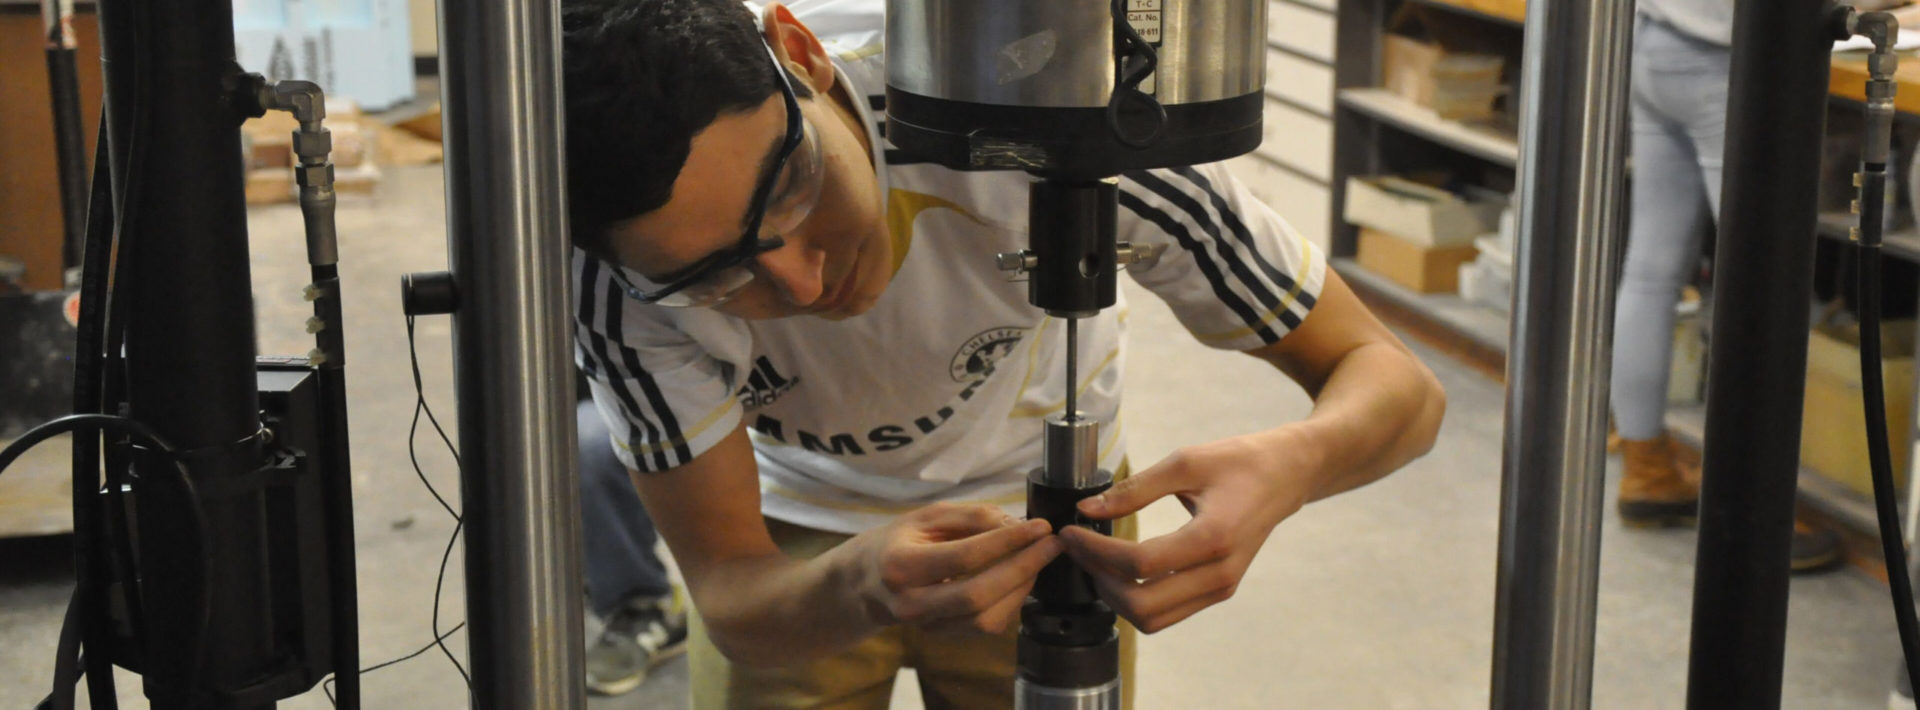
Once the slump tests were complete, we took the concrete and placed it in five molds to harden for the next three weeks, when we will test their compressive strength.
CEE you next time!
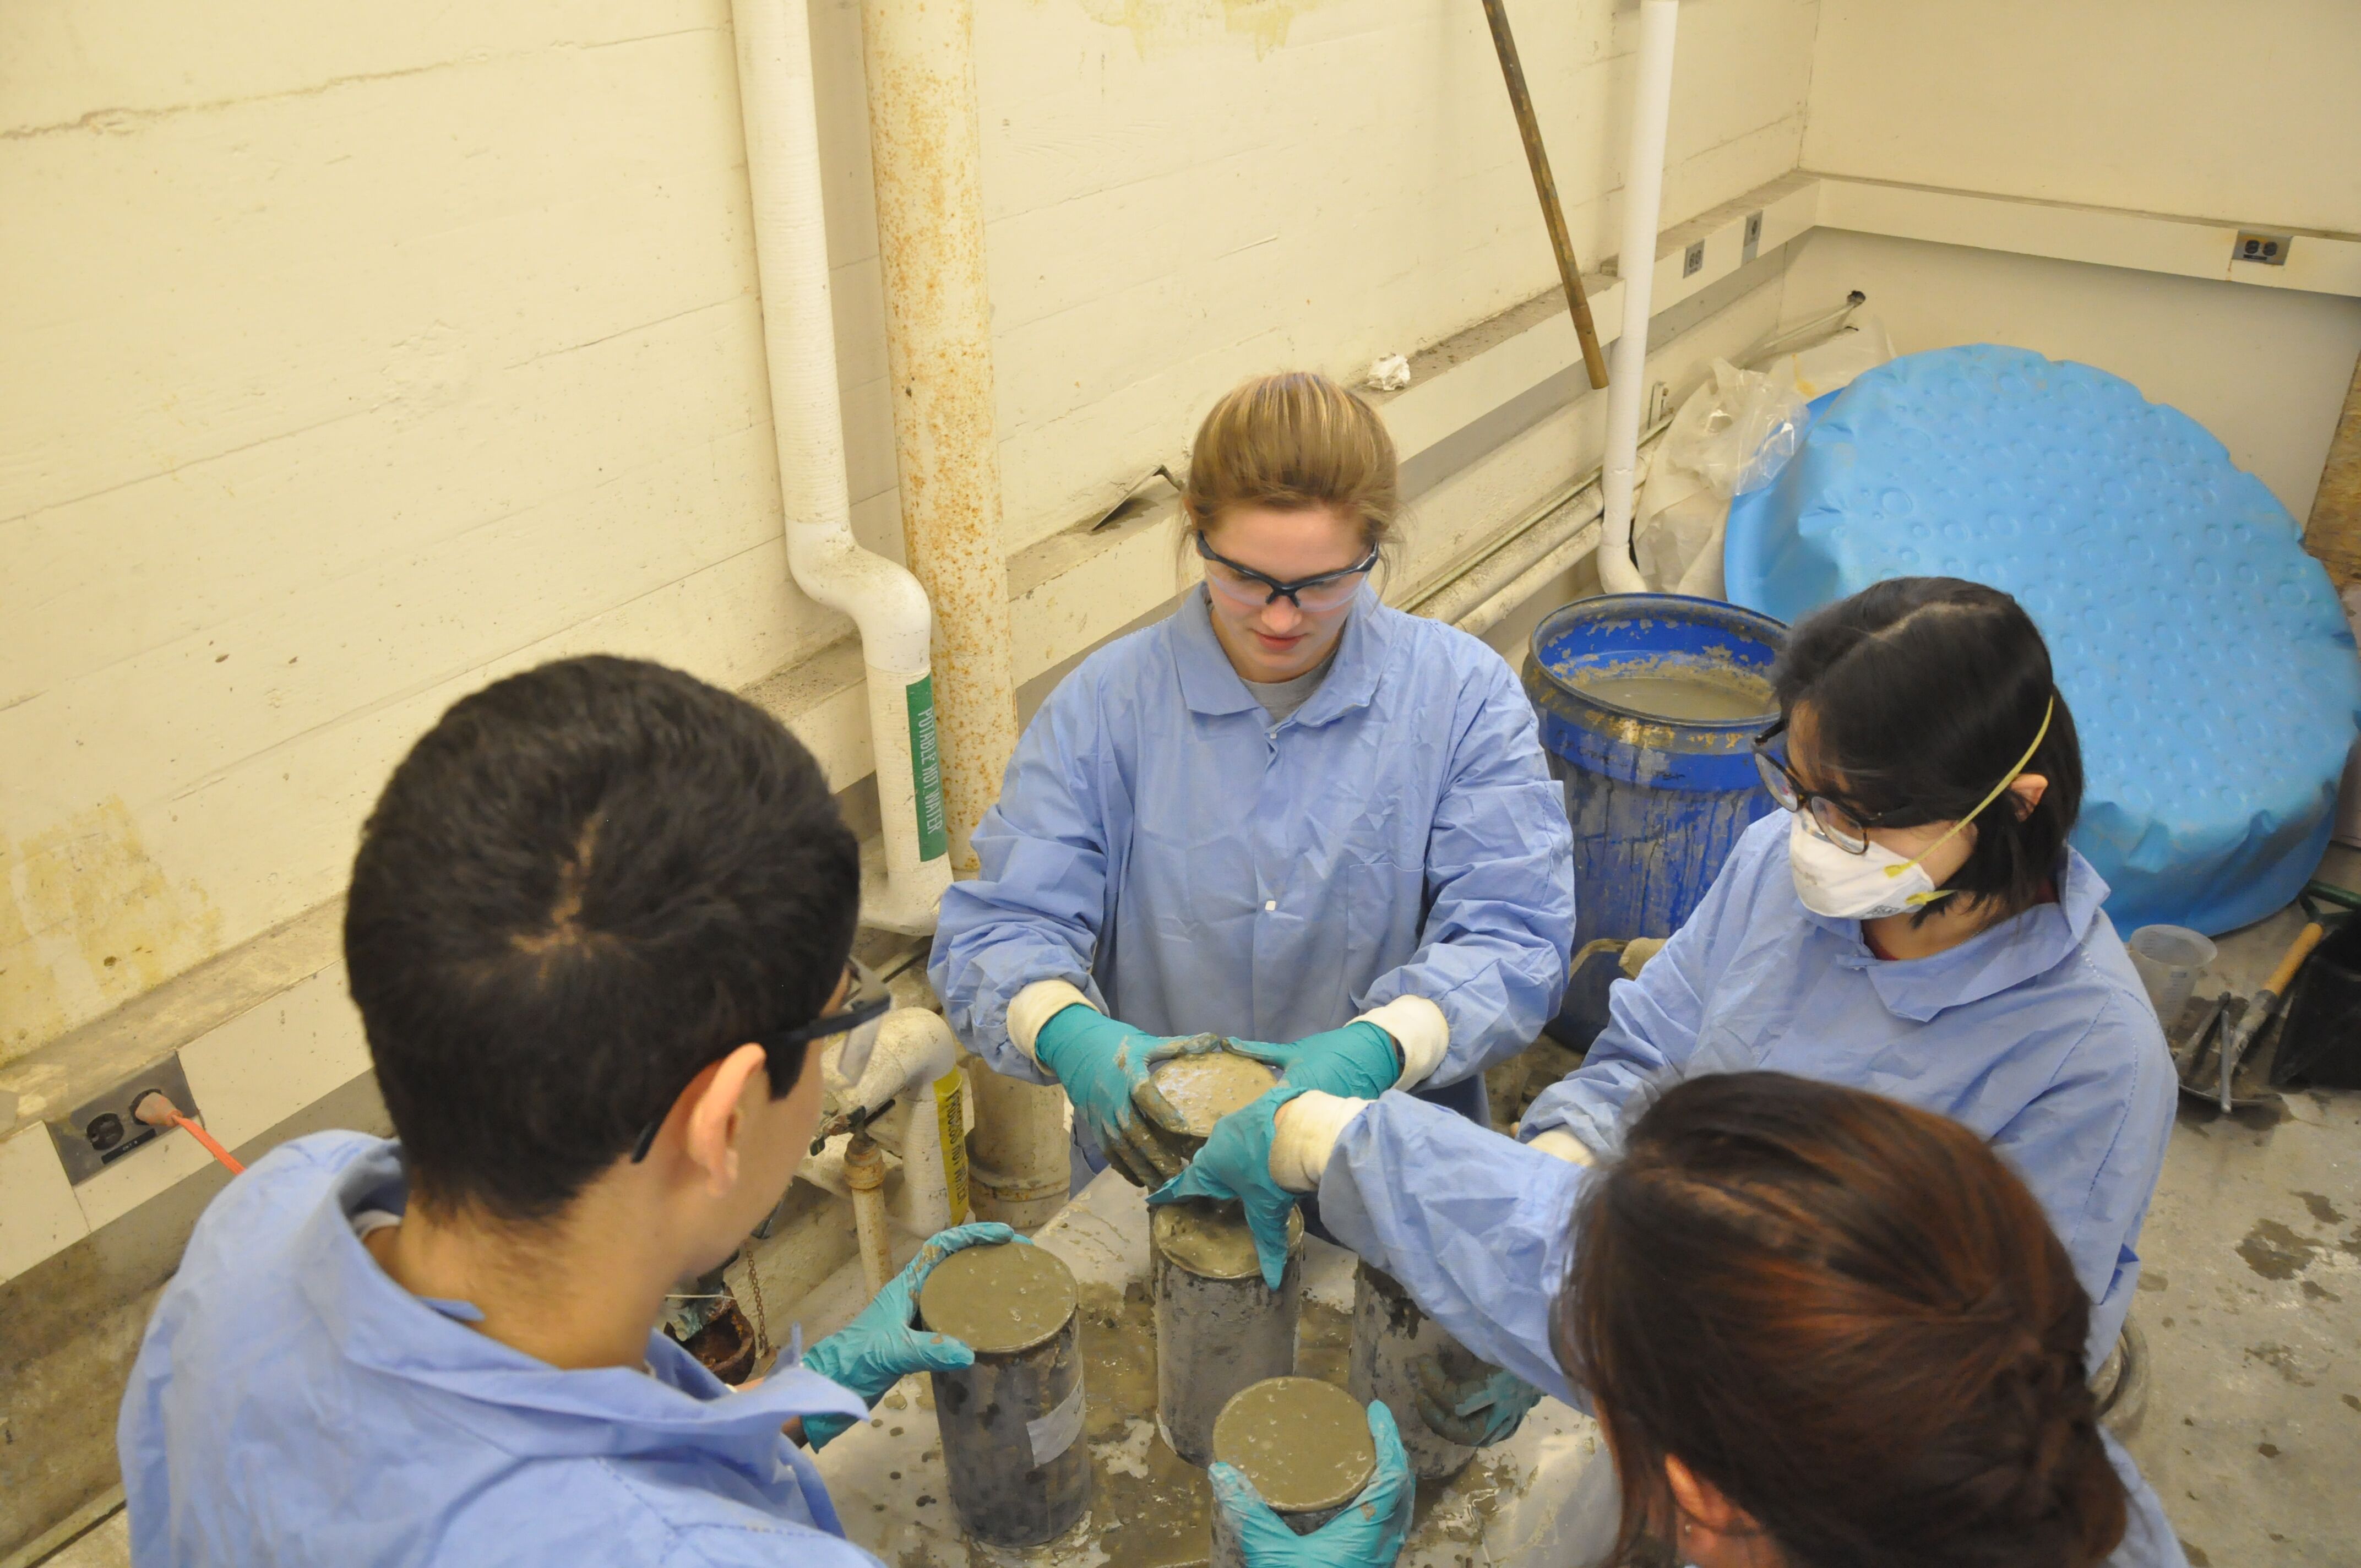 Preparing the samples for curing. The machine vibrates rapidly, helping to remove any air bubbles from the sample. Photo courtesy of Stephen Rudolph.